
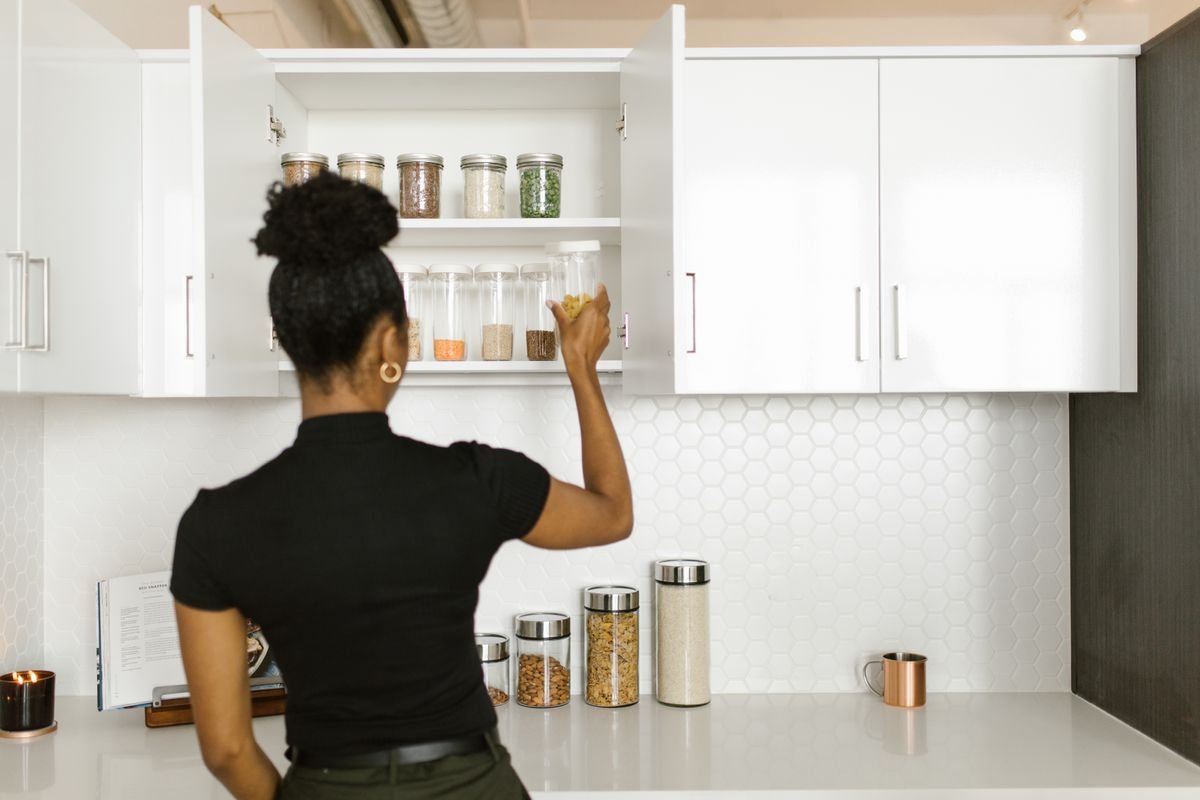
21 Kitchen Cabinet Organization Ideas to Double Your Space Instantly
If your cabinets are stuffed but somehow hold nothing you can reach, you don’t need a bigger kitchen — you need better systems. These kitchen cabinet organization ideas are built for small, rented kitchens: they use the vertical space, door space and dead corners you already have, they cost little or nothing, and none of them requires drilling into cabinet frames or asking your landlord’s permission.
Start at the top of the list — the first ideas make the biggest difference in almost every kitchen — then work your way down. Most take under 30 minutes each, and together they can genuinely double the usable space inside the cabinets you already own.
Vertical Space: Kitchen Cabinet Organization Ideas That Stack Up
Most cabinets waste half their height: one shelf of short items with a canyon of empty air above them. These fixes stack that air into service.
1. Add Shelf Risers to Double Every Cabinet Shelf
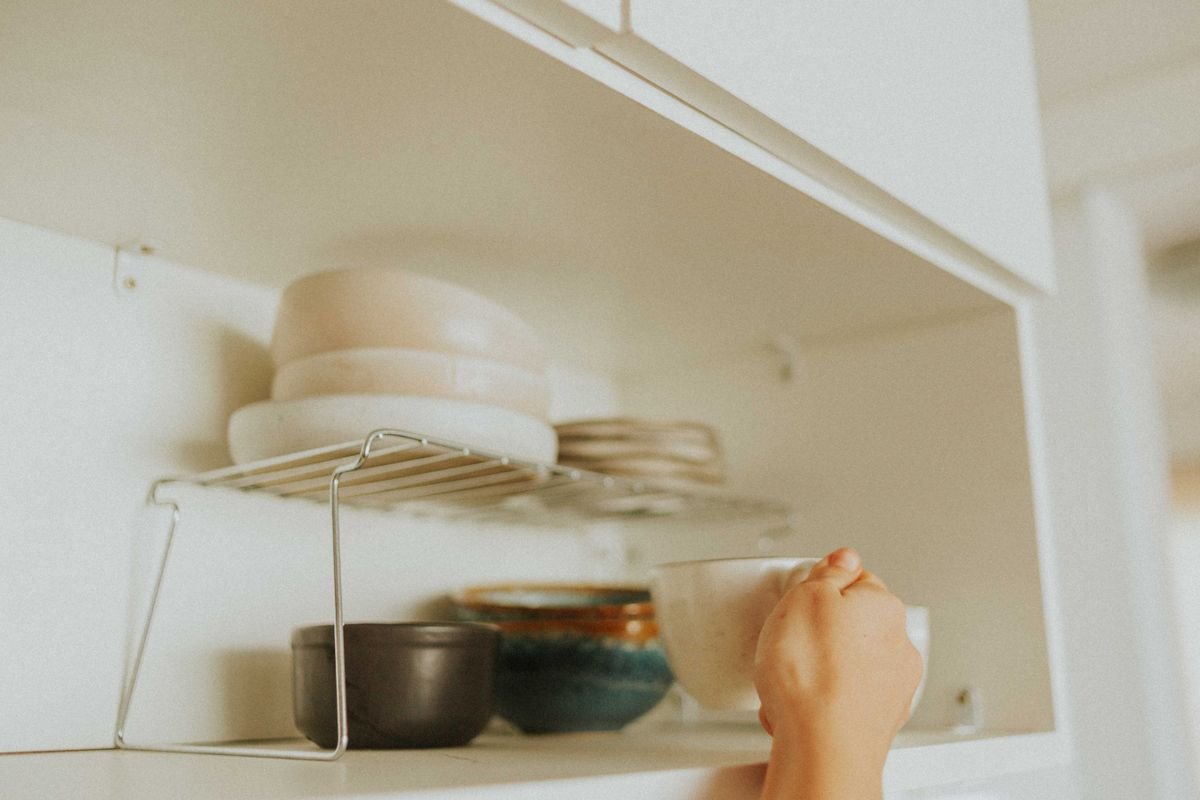
A wire or bamboo shelf riser is the single fastest cabinet upgrade there is. Set one on an existing shelf and you instantly get two levels: bowls or mugs underneath, plates or glasses on top. Measure your cabinet’s inside width and the height between shelves before you buy, and leave at least the height of your tallest mug plus a finger’s width of clearance above the riser.
Renter-safe and budget note: risers just sit on the shelf — no screws, no adhesive. Basic wire risers run about $6–$12 each, and one per cabinet is usually enough.
2. File Plates, Lids, and Boards Upright in a Rack
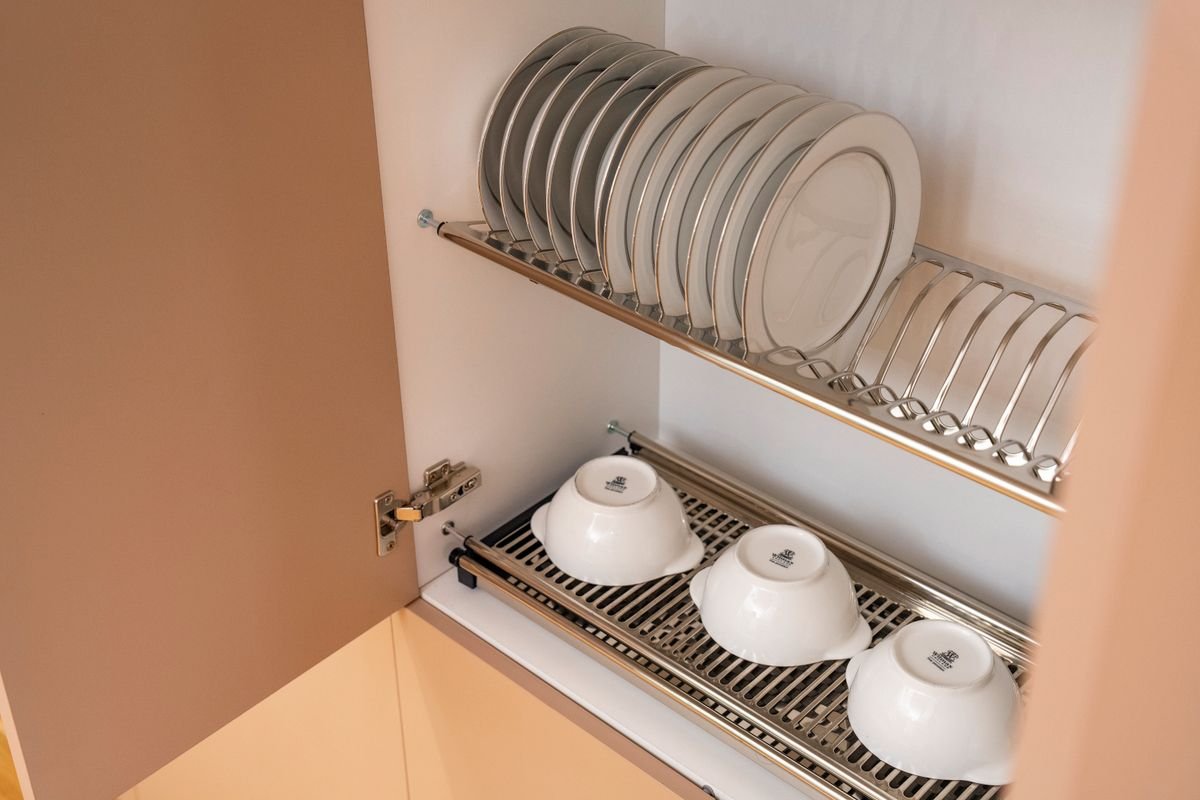
Stacked plates are heavy, chip-prone and annoying to lift from the middle of the pile. A simple upright rack — the kind made for lids, or a small plate cradle — files plates, cutting boards and baking sheets on their edges like books. You can pull out exactly the one you need, and the same footprint suddenly holds twice as much.
Renter-safe and budget note: racks are freestanding and cost around $8–$15. Bamboo and wire versions both work; pick one with slots wide enough for your thickest plate.
3. Hang Mugs on Hooks Under a Shelf
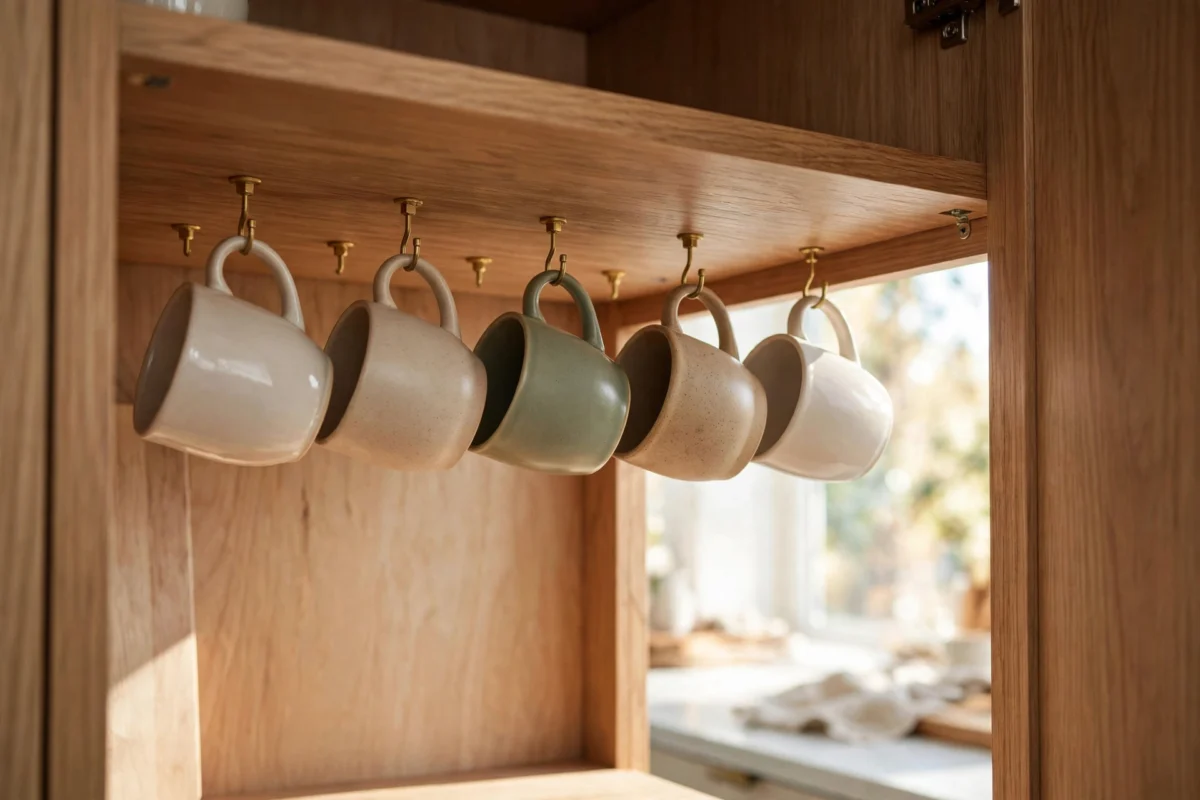
Mugs are space hogs: bulky, awkward to stack, and determined to colonize a whole shelf. A row of hooks under an upper cabinet shelf — or under the cabinet itself, above the counter — lifts them into the dead air and frees the shelf for bowls and glasses. Hang only your everyday four to six mugs; the novelty ones can live higher up.
Renter-safe and budget note: use adhesive hooks rated for the weight, or a clamp-on under-shelf hook rack that slides on with no hardware at all — about $8–$12, and it leaves zero marks.
4. Add Under-Shelf Baskets for Instant Extra Shelves
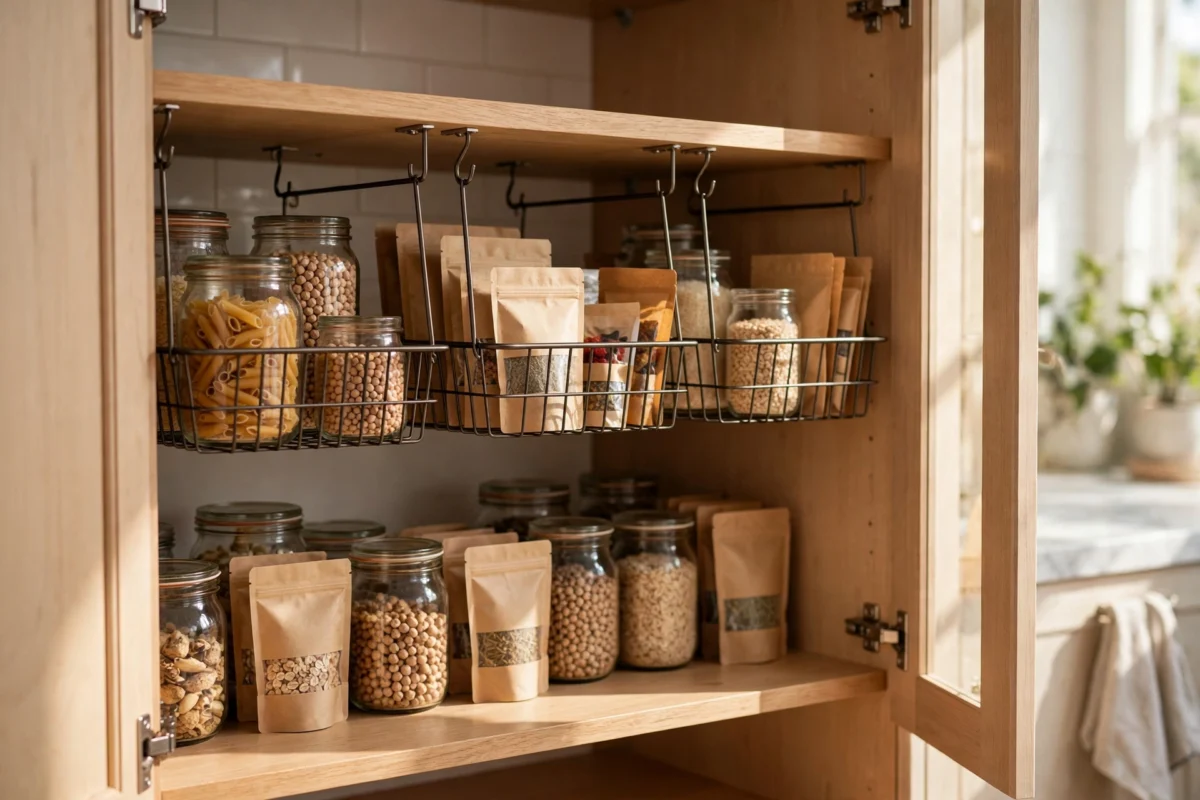
Under-shelf baskets hook over the shelf above and hang below it, creating a floating extra shelf in the gap between shelf levels. They’re perfect for the short stuff that gets lost — spice packets, tea, vitamins, lids, foil refills. One basket per cabinet is usually plenty; two side by side can crowd the shelf below.
Renter-safe and budget note: these clip on with no tools and no damage, and cost roughly $7–$12. Check the hook fits your shelf thickness before ordering.
5. Use Stackable Bins to Build a Second Layer
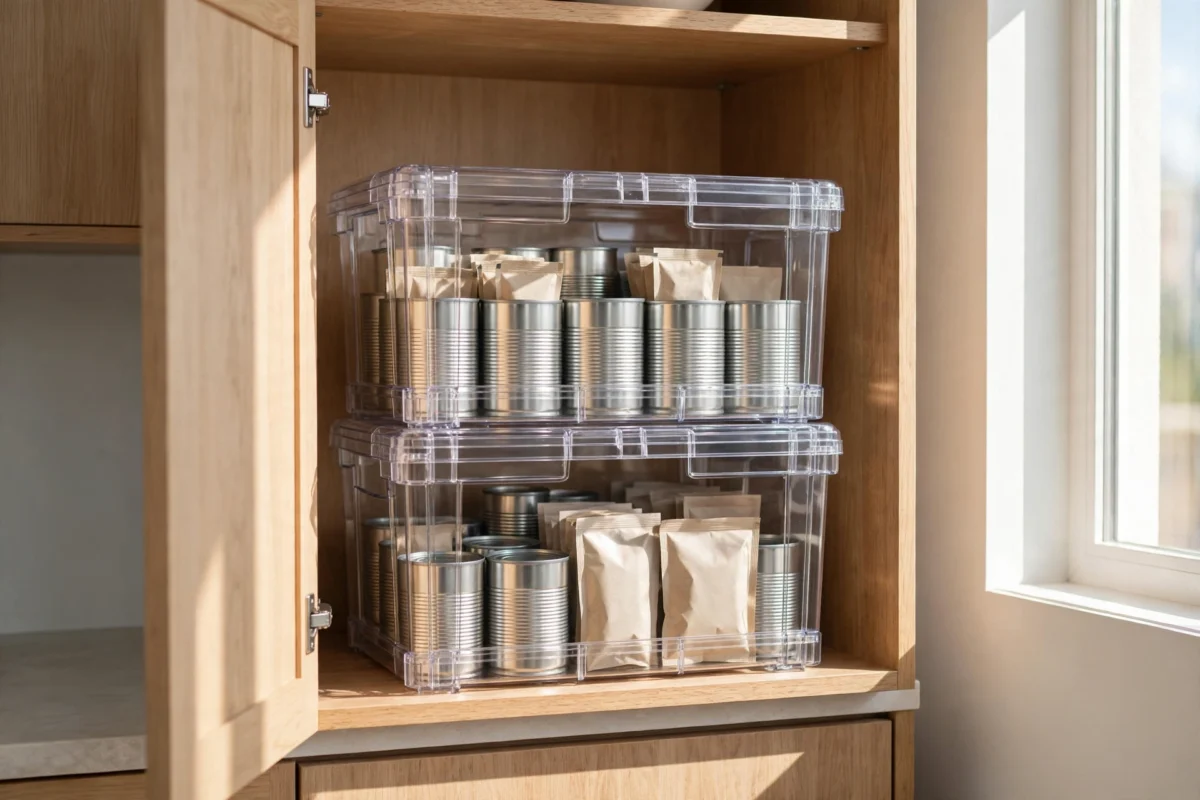
Where risers don’t fit, stackable bins do the same job: two or three open-front bins stacked in a tall cabinet make a little tower of cubbies for snacks, packets or baking supplies. Open fronts matter — you can grab things from the bottom bin without unstacking anything.
Renter-safe and budget note: freestanding and removable, obviously. Sturdy plastic or wire bins run $3–$6 each; buy one size so they stack neatly.
Door and Wall Space: Kitchen Cabinet Organization Ideas Renters Miss
The inside of every cabinet door is a flat, empty panel exactly where your hands already are. So is the side panel of an end cabinet. Most renters never use either — which makes them the easiest space in the kitchen to claim.
6. Hang a Rack Inside the Cabinet Door
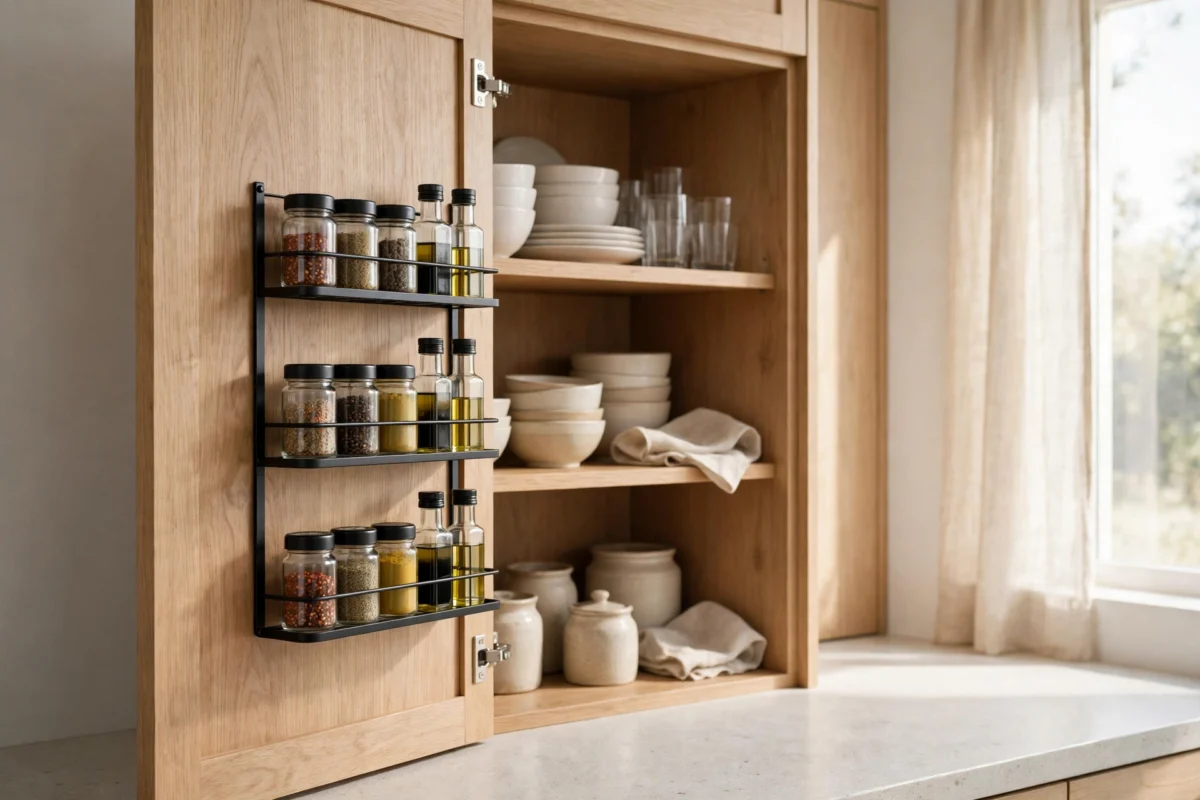
An over-the-door or adhesive rack inside a cabinet door holds the flat, fiddly things that vanish in drawers: measuring spoons, bag clips, packets and wraps. Under the sink, a door rack keeps spray bottles upright and visible. Test the door swing with the rack loaded — in some cabinets you need to shift a shelf back an inch to clear it.
Renter-safe and budget note: choose over-door hooks or strong adhesive mounts, never screws, in a rental. Racks run $9–$16 and come off cleanly at move-out.
7. Store Measuring Cups and Spoons on Door Hooks
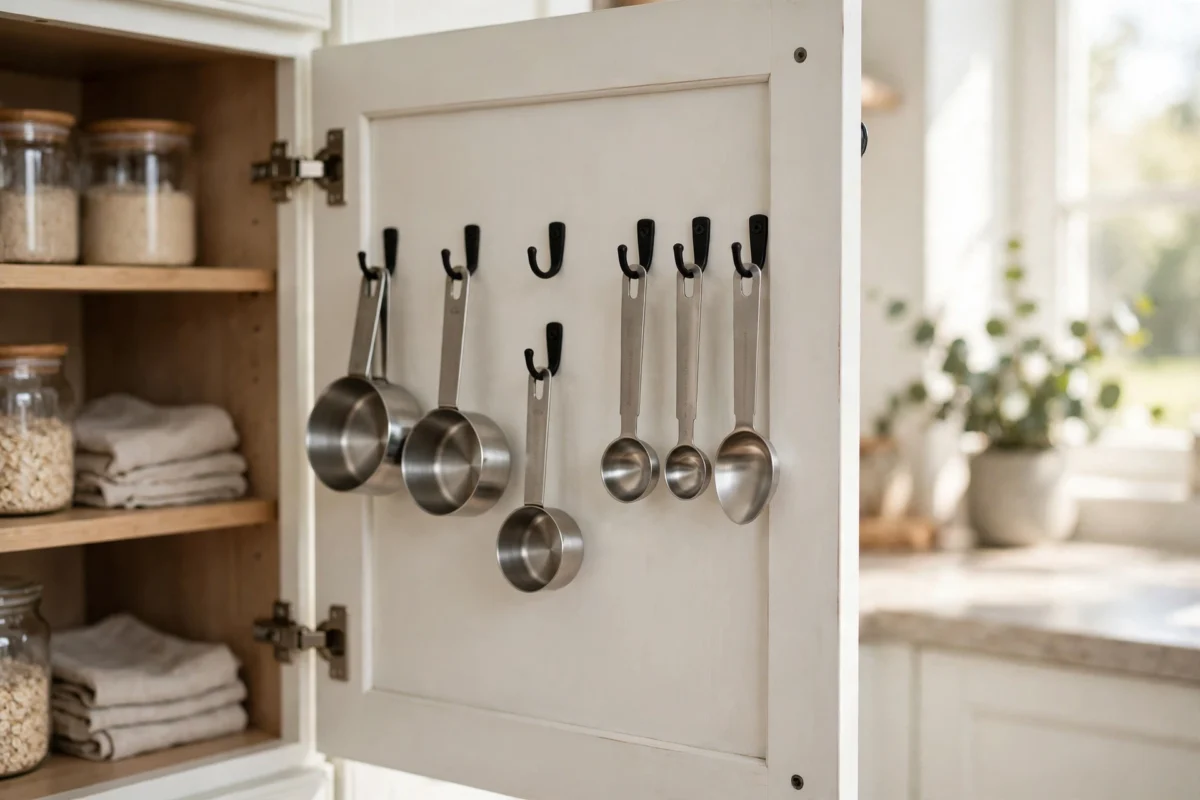
Measuring cups and spoons somehow end up in every drawer and no drawer. Hang them on small hooks inside the cabinet door nearest your baking zone, largest to smallest. Tape the conversion chart you always look up inside the same door, and the whole baking kit lives in one square foot.
Renter-safe and budget note: small adhesive hooks cost a couple of dollars for a pack and hold this light load easily. Keep hooks clear of the shelf edge so the door still closes fully.
8. Mount a Wrap and Foil Organizer on the Door
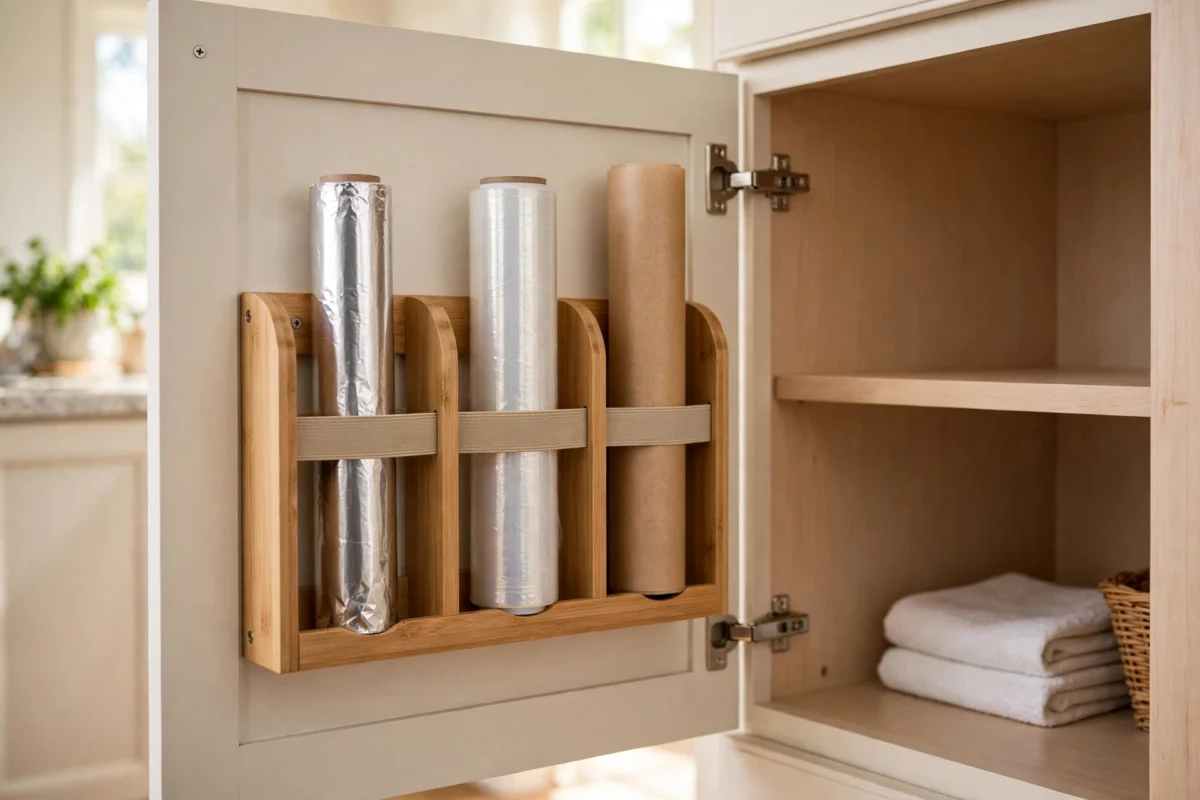
Boxes of foil, wrap and parchment are long, light and constantly in the way. A door-mounted wrap organizer — or a simple file-style holder stuck inside the door — stands them upright in a space that’s otherwise pure air, and the boxes stop avalanching out of the drawer every time you open it.
Renter-safe and budget note: adhesive and over-door versions are both rental-friendly, around $10–$14. A slim magazine holder from a dollar store does the same job for less.
9. Give Spices One Visible Layer on a Shelf or Door Rack
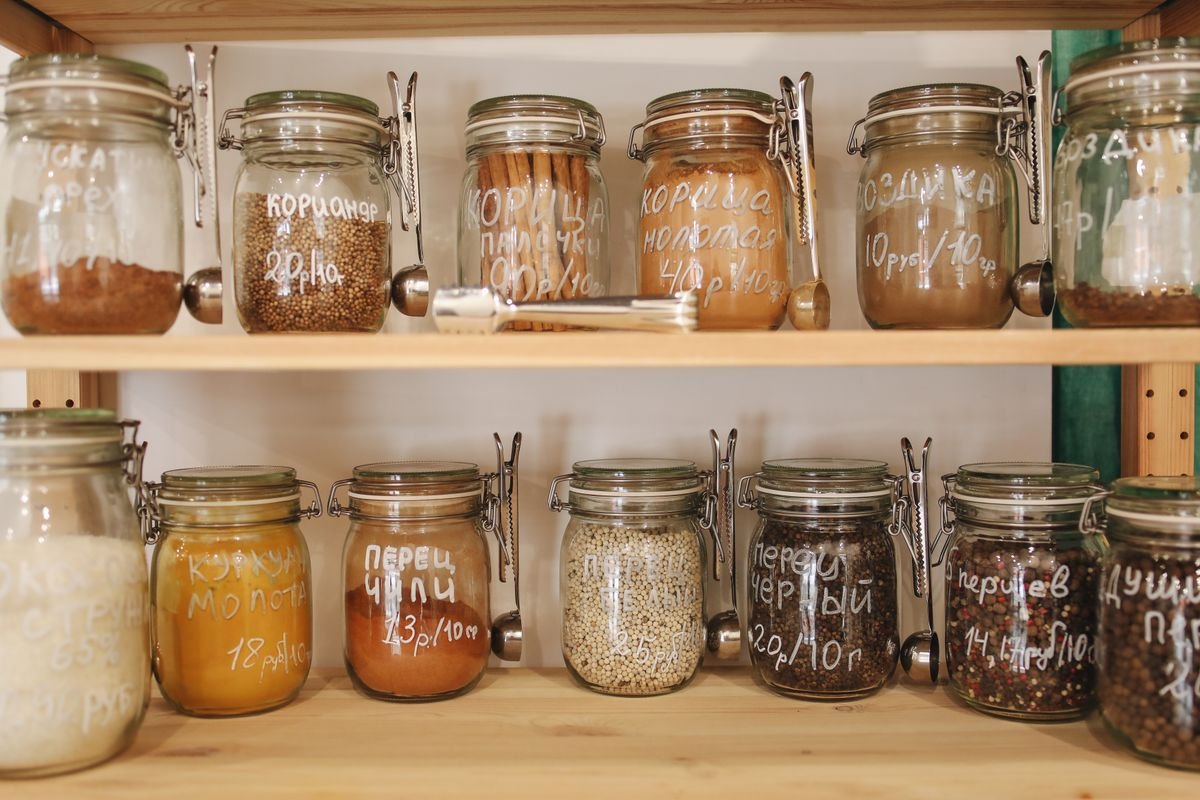
Spices fail in two ways: stacked in a dark pile you can’t read, or spread across three cabinets. The fix is one visible layer — small, same-size jars lined up in a single row on a shallow shelf or a door rack, labels facing out, in alphabet or cuisine order. If you can see every jar at a glance, you stop buying duplicate cumin.
Renter-safe and budget note: a door rack or a $5 tiered mini-riser does it, with no installation. Decant into matching jars only if you want to; a label maker or tape on the lids you already own works too.
10. Use the Side of a Cabinet for Rails and Hooks
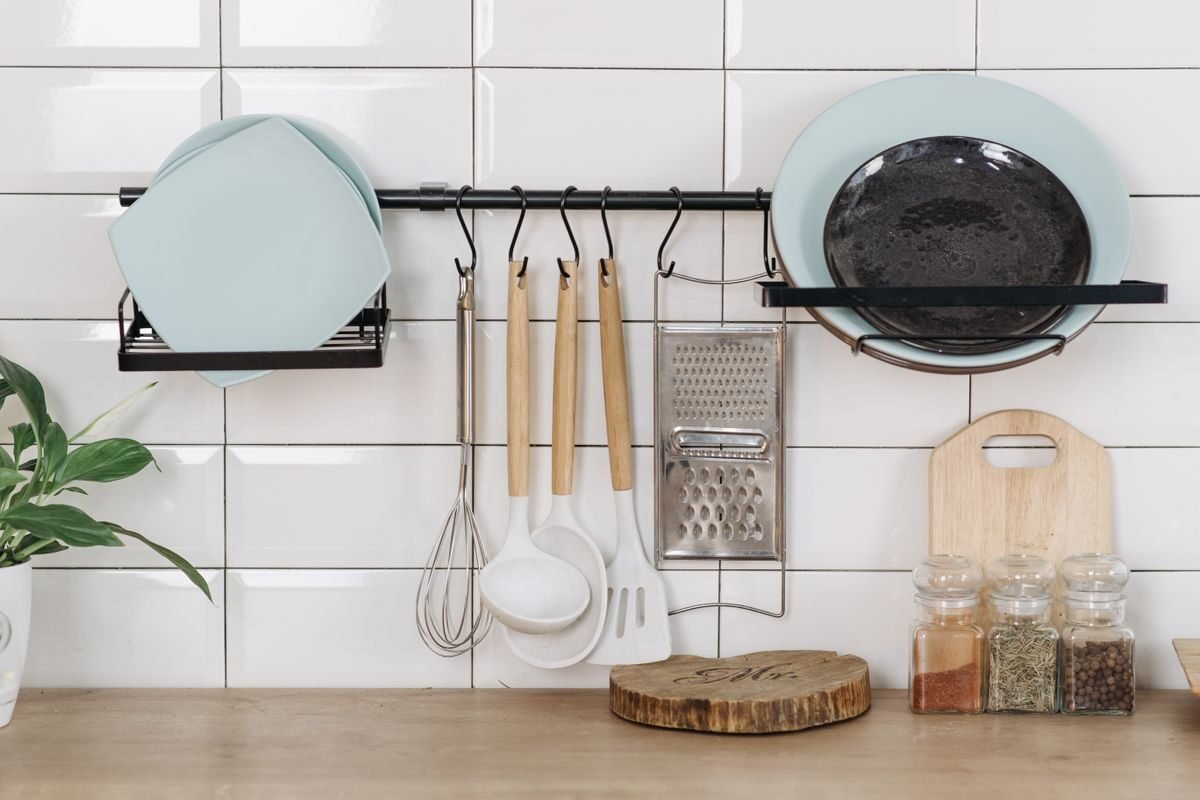
The blank side panel of an end cabinet, or the wall beside the stove, can hold a whole rail of daily tools. A rail with S-hooks carries ladles, whisks, scissors and the grater — out of the drawer, off the counter, and within reach while you cook. The same rail works just as well for a row of mugs.
Renter-safe and budget note: use a rail with heavy-duty adhesive pads, or hooks that clamp over the cabinet side with no drilling. If you do drill, drill into the wall rather than the cabinet — it patches easily either way.
Zones and Containers: Kitchen Cabinet Organization Ideas That Keep Order
Once the space exists, zones keep it. Group things by how they’re used, give every group a container or a home shelf, and cabinets stop re-cluttering themselves.
11. Group Items in Bins and Baskets You Can Pull Out Like Drawers
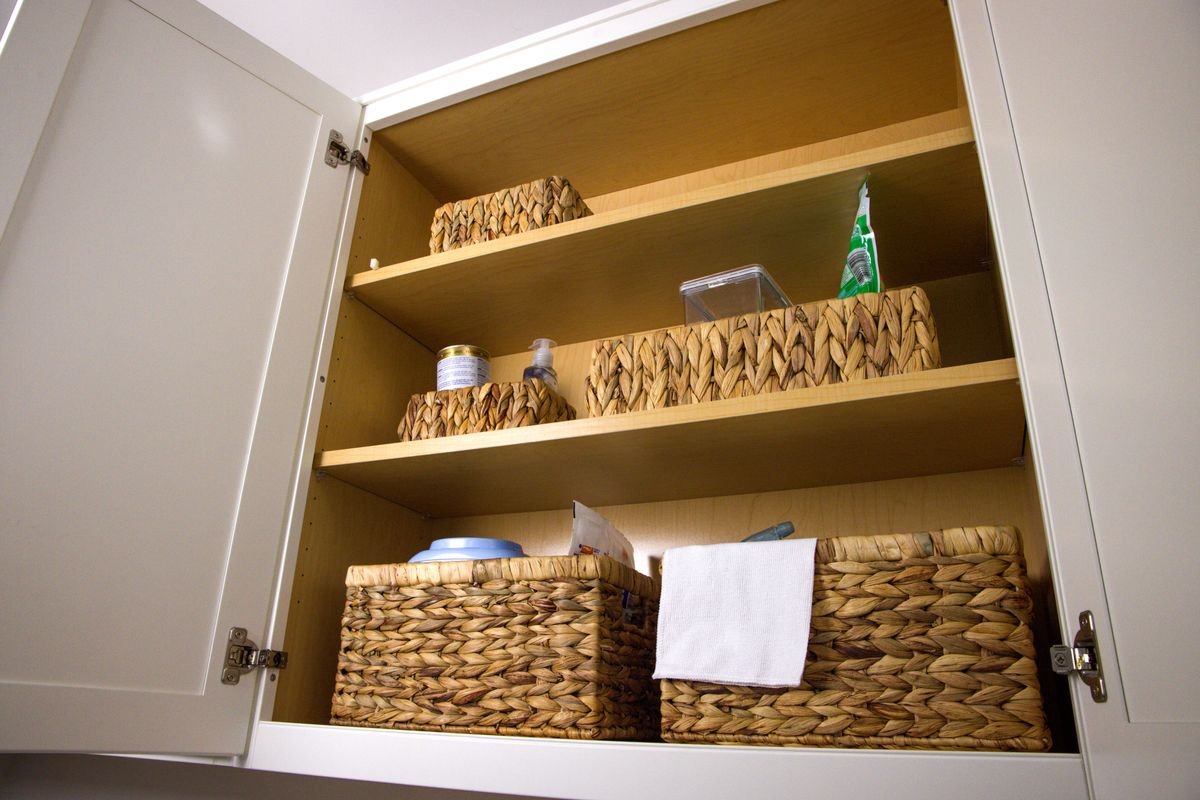
Deep cabinets swallow things at the back. Bins and baskets turn each shelf into drawers: snacks in one, baking in another, lunch containers in a third. You pull the whole bin out, take what you need, and slide it back — nothing migrates to the dark rear corner ever again. Handles or cut-outs make the pull-out easy.
Renter-safe and budget note: containers are pure freestanding storage, $2–$6 each at discount stores. Measure depth first — the bin should leave a finger’s width of clearance at the front.
12. Decant Dry Goods Into Square Airtight Canisters
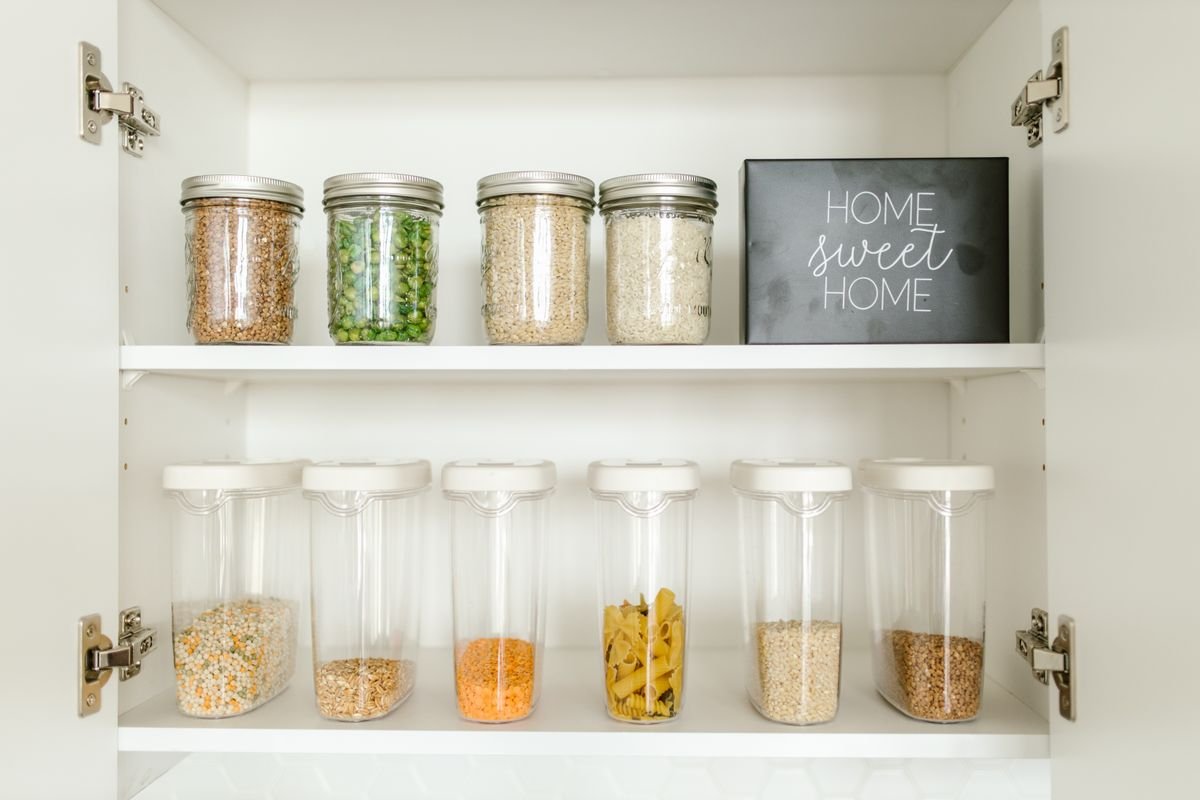
Bags and boxes of flour, rice and pasta are all different shapes, and half of them resealable in theory only. Square airtight canisters stack flush, line up in rows and show you at a glance what’s running low. Square matters: round jars waste the corners, and corners are exactly what small cabinets can’t spare.
Renter-safe and budget note: a starter set of four to six canisters runs $15–$25, and you can add one at a time. Keep cooking instructions taped inside the lid if you cut up the packaging.
13. Put a Lazy Susan in Deep Corner Cabinets
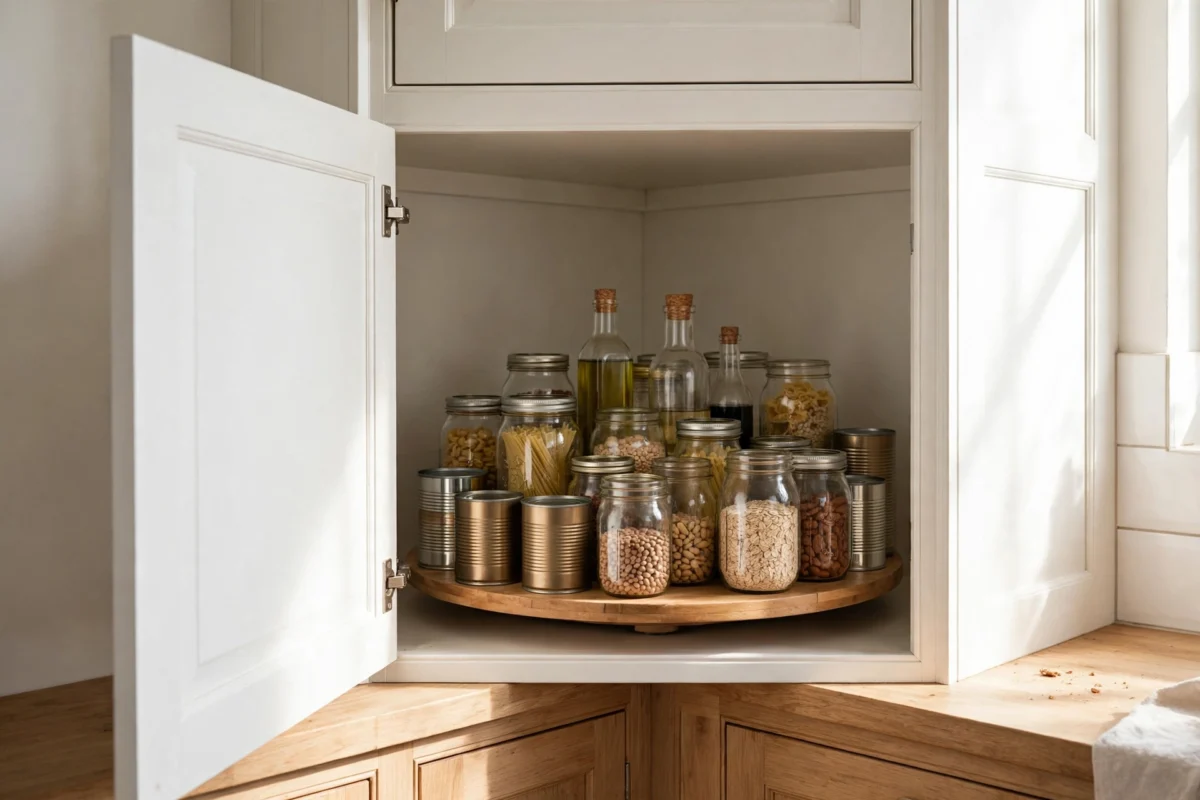
Corner cabinets are where good pans go to be forgotten. A lazy susan turntable — sized to the shelf with an inch to spare — brings the back row to the front with one spin. Use one for oils and sauces near the stove, and another for jars and cans in a deep base cabinet.
Renter-safe and budget note: turntables just sit on the shelf; $8–$14 buys a sturdy one. Choose a rimmed edge so bottles don’t launch when you spin enthusiastically.
14. Use Drawer Dividers for Utensils and Gadgets
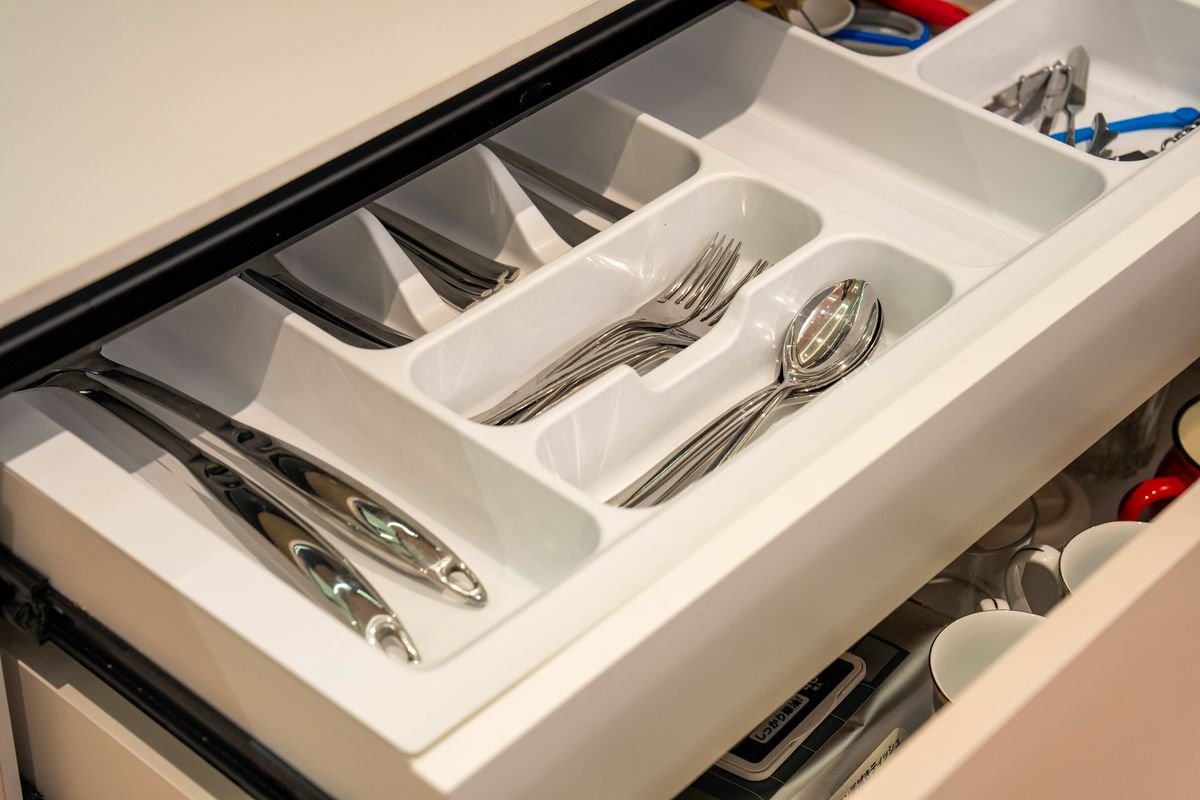
The utensil drawer isn’t a cabinet, but it obeys the same rules — and it’s usually the worst offender. A divided tray or adjustable dividers split it into lanes: daily cutlery in one, cooking utensils in another, and the awkward long tools along the back. Everything gets a lane, and the junk-drawer slide stops.
Renter-safe and budget note: trays cost $6–$12 and lift straight out for cleaning. Spring-loaded dividers fit odd drawer widths with no cutting or fitting.
15. Store Pots With Lids Filed Separately
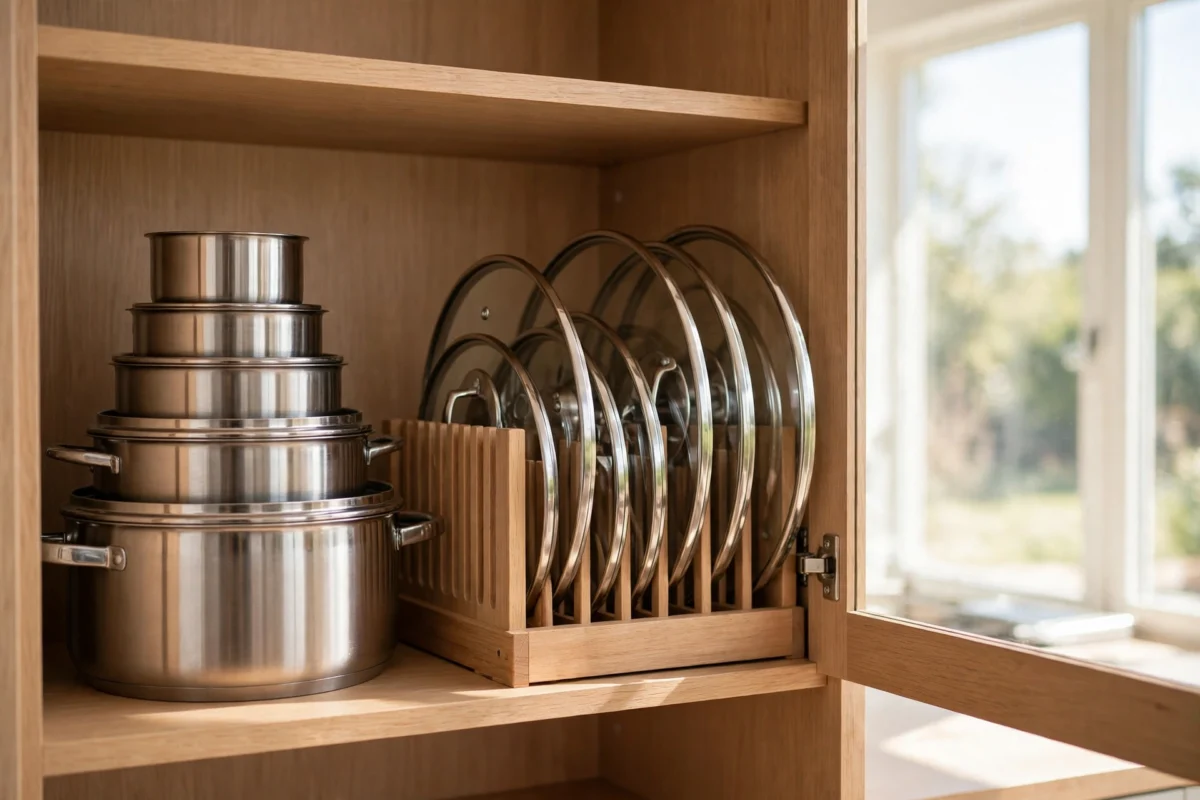
Nested pots are fine; their lids are the problem — a sliding mess balanced on top of everything. File lids separately in a rack on the cabinet floor, inside the door, or in a shallow bin beside the pots. Keep each pot with only the lid you actually use weekly; the rest can live in the least reachable cabinet you have.
Renter-safe and budget note: a $7 lid rack, or a tension rod run across the cabinet as a divider, both work with zero installation. Donate the lids whose pots are long gone.
16. Keep Daily Dishes at Eye Level, Occasion Items Up High
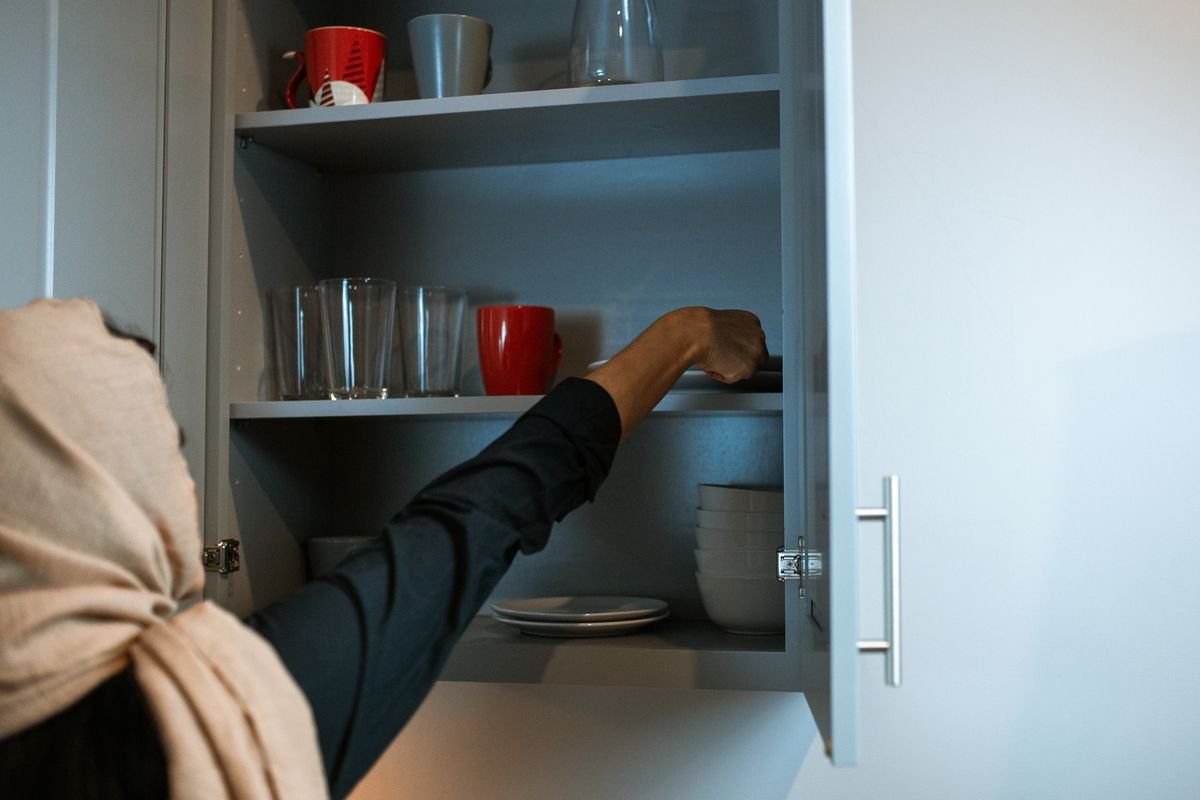
Arrange cabinets by frequency, not by category. Everyday plates, glasses and mugs belong on the shelf between hip and eye level, closest to the dishwasher. The roasting pan, the waffle maker and the good serving bowls go up high or down low. It sounds obvious — almost nobody’s cabinets actually work this way.
Renter-safe and budget note: this one is completely free; it’s a reshuffle, not a purchase. Keep heavy stacks low regardless — lifting a pile of plates down from overhead is exactly how chips happen.
Small Cabinet Fixes With Big Payoffs
The last ideas are small habits and finishes. None of them adds a shelf — but together they’re the difference between organized once and organized still in six months.
17. Line Shelves So Everything Slides and Wipes Clean
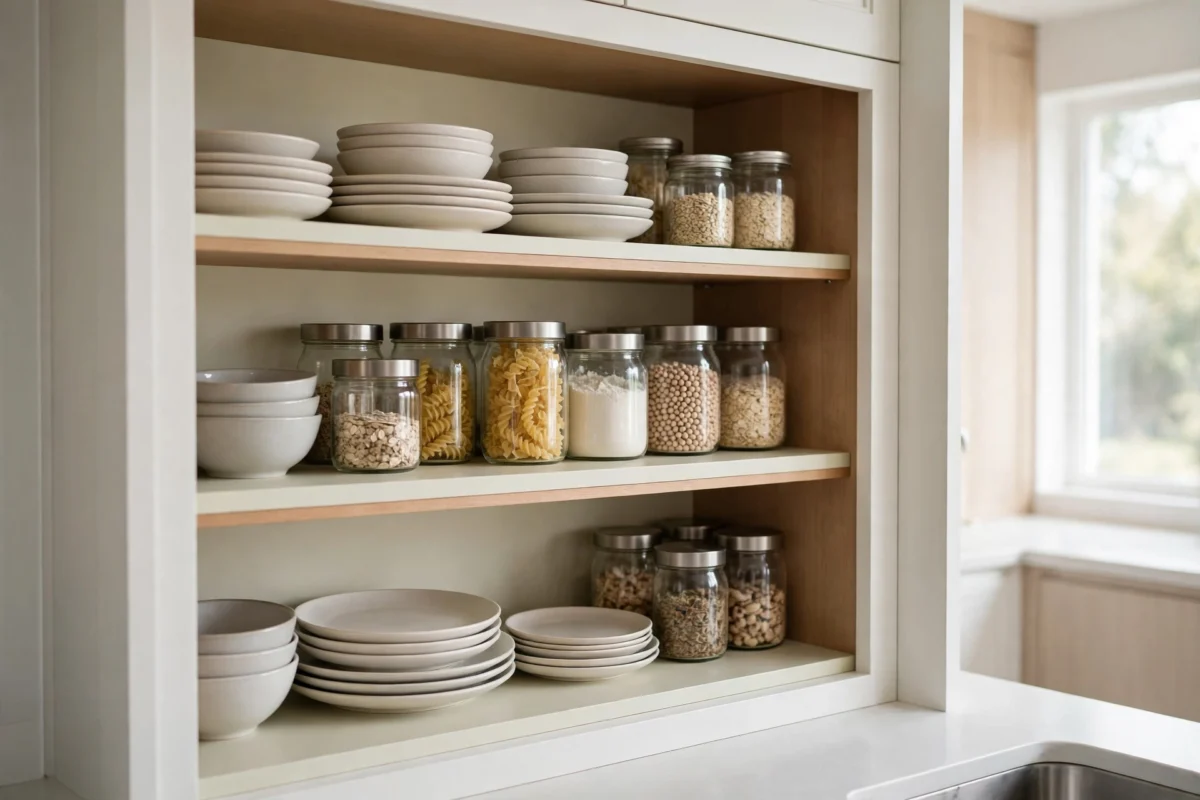
Shelf liner is unglamorous and genuinely useful: it stops glasses and jars sliding, catches the honey-jar drips, and wipes clean in seconds instead of a scrub. Non-adhesive grip liner also keeps stacked items quiet. Cut it a half inch short of the shelf edges so it lies perfectly flat.
Renter-safe and budget note: insist on the non-adhesive kind — sticky liner can take the cabinet finish with it at move-out. A roll costs about $6 and covers most of a small kitchen.
18. Label Shelf Edges So Everything Goes Back
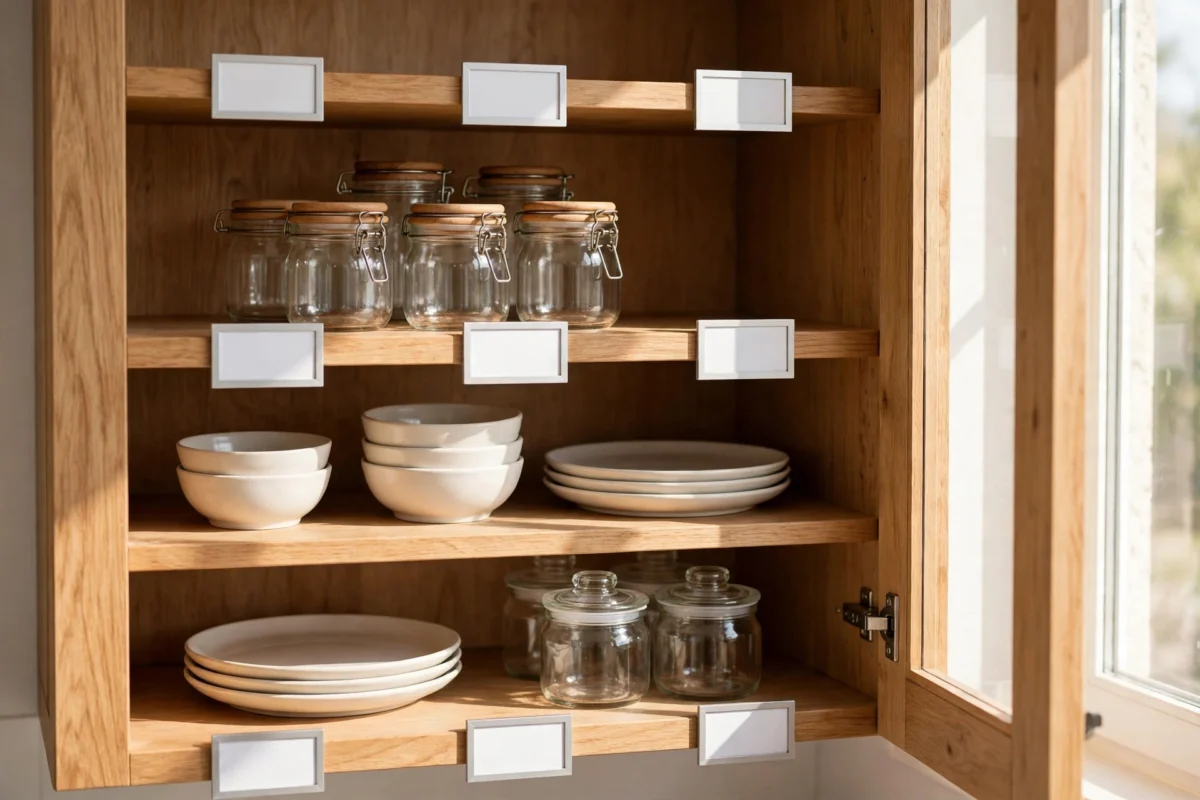
Labels turn “put it back somewhere” into “put it back there.” A strip of tape or a label on the front edge of each shelf — glasses, baking, weekday bowls — quietly enforces the zones for everyone in the household, including future, tired you. Shelf edges beat labels on bins, because they survive bin swaps.
Renter-safe and budget note: painter’s tape and a marker cost almost nothing and peel off without residue. Keep labels short — two words is plenty.
19. Move Cleaning Supplies to the Sink Cabinet With a Caddy
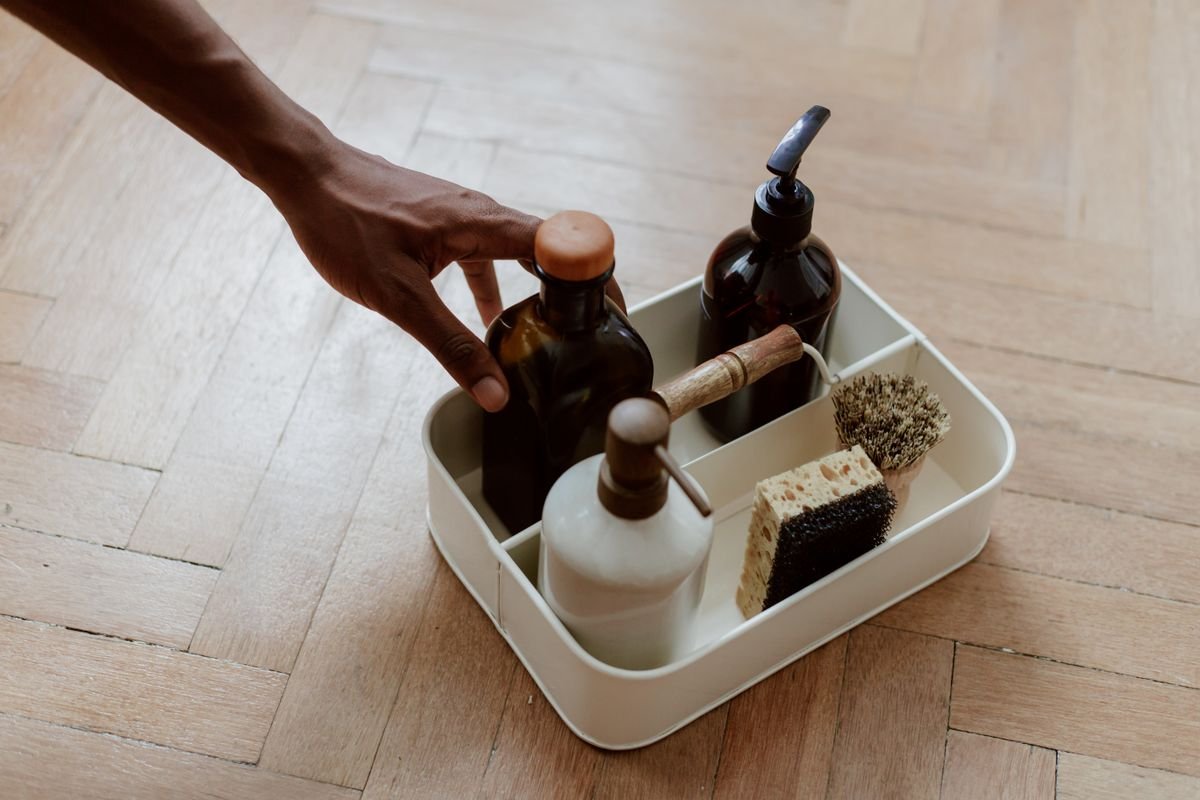
The sink cabinet is deep, dark and usually a bottle swamp. Stand cleaning supplies in a handled caddy or small bin you can lift out in one go: everyday spray and cloths in front, backups behind. Add a tension rod across the top to hang spray bottles by their triggers and the floor space underneath doubles.
Renter-safe and budget note: a caddy is $5–$8 and nothing is installed. Keep it small on purpose — if it can’t hold one more bottle, that’s a sign to finish one, not buy a bigger caddy.
20. Keep Only What You Use: The One-In-One-Out Rule
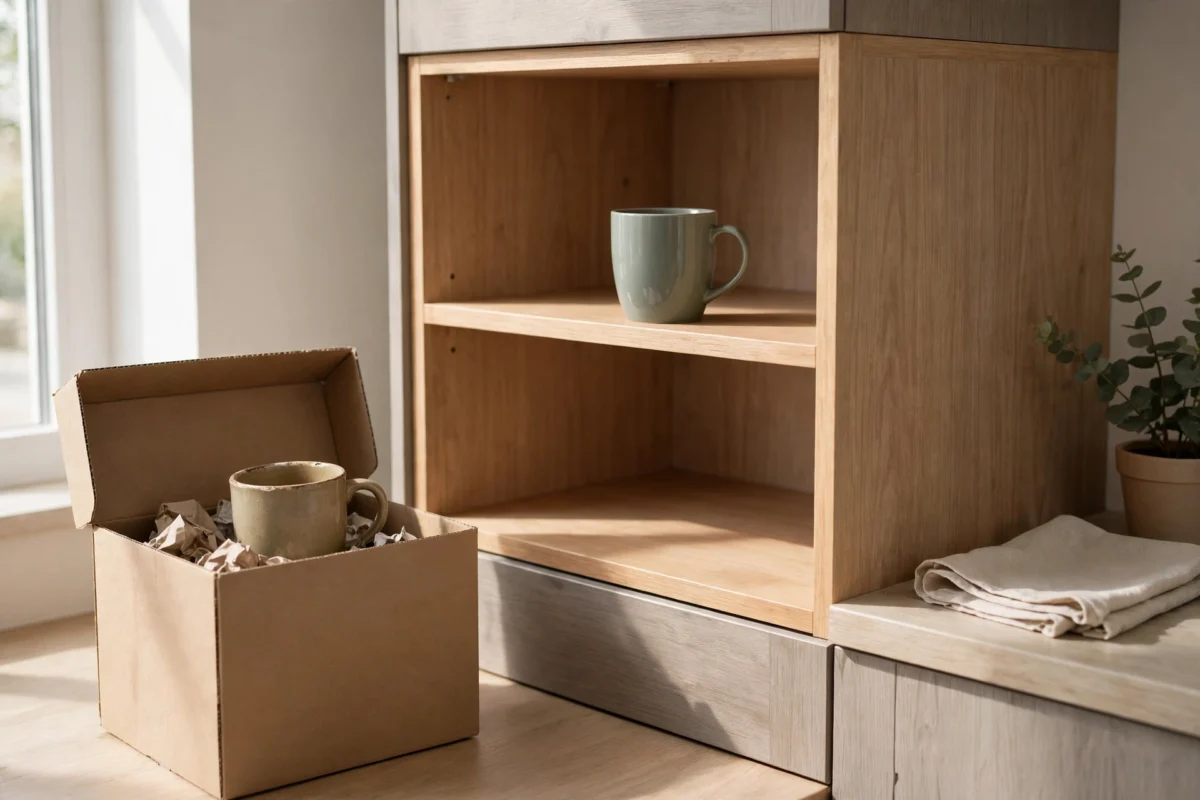
Every organizing system fails when the cabinet simply holds too much. The one-in-one-out rule keeps the population stable: a new mug, pan or gadget only comes in when an old one leaves for the donation box. Keep a small donation bag in a closet so the “out” half takes thirty seconds.
Renter-safe and budget note: this rule saves money rather than costing it. Be honest about duplicates — most small kitchens need two good pans, not five mediocre ones.
21. Do a 15-Minute Monthly Cabinet Reset
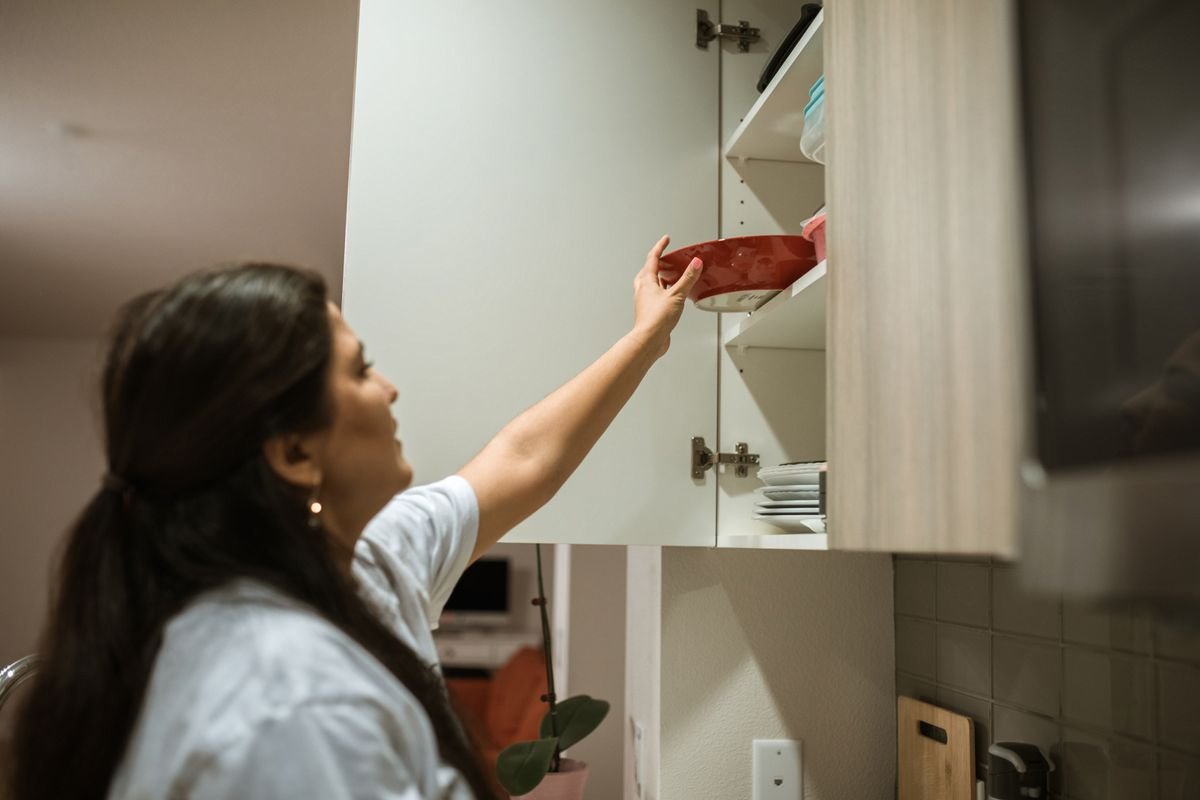
Cabinets drift. Fifteen minutes once a month — pick the same day you wipe out the fridge — puts everything back in its zone, catches the expired spices and the third bottle of soy sauce, and re-stacks whatever got shoved in a hurry. If one zone keeps failing, that’s data: it needs a bin, a riser, or fewer things. And for the rest of a small kitchen, our guide to small kitchen storage ideas for apartments covers the counters, walls and fridge gaps that cabinets can’t.
Renter-safe and budget note: free, obviously — set a phone reminder and put some music on. Fifteen minutes monthly is far cheaper than one giant reorganization a year.
Kitchen Cabinet Organization Mistakes to Avoid
Buying containers before measuring. The prettiest bin in the store is useless if it’s an inch too deep for the door to close. Measure inside width, depth and shelf height, and keep the numbers in your phone.
Stacking everything. Tall stacks look tidy for a day; then the thing you need is always at the bottom. If you lift three items to reach a fourth, that shelf needs a riser, a rack or a turntable.
Storing by category instead of by use. All the mugs together in a high cabinet, with the tea in another room, is a system that fails at 7 a.m. Store things where and how they’re used.
Filling every inch. A cabinet packed to 100% can’t be used without a fight. Aim for about 80% full — the empty 20% is what makes the other 80% reachable.
Kitchen Cabinet Organization FAQs
How can I double my cabinet space without buying anything?
Start with the free moves: shift daily items to eye level, file plates and lids upright, hang measuring cups inside a door with any hooks you have, and skip the decanting — just group items in boxes or trays already in the house. Most kitchens gain a surprising amount of room from rearranging alone.
How do I organize cabinets in a rental without drilling?
Everything in this list is drill-free: risers, bins, racks and turntables sit in place, and door storage uses over-door hooks or adhesive. Keep adhesive light-duty and removable, and save the packaging so you can take it all with you when you move.
What should I buy first if my budget is $25?
One shelf riser for your most-used cabinet and one bin or basket for your deepest one — usually about $15 together. Live with those for a week; the next gap will tell you exactly what the last $10 should buy.
Start With These 5
If twenty-one ideas feel like a lot, begin with the five that change a kitchen fastest:
1. Shelf risers (idea 1) — instant second levels in your most-used cabinets.
2. Bins that pull out like drawers (idea 11) — deep cabinets stop swallowing things.
3. One visible layer for spices (idea 9) — no more duplicate jars.
4. Door racks and hooks (ideas 6–8) — free storage on every door you own.
5. The monthly 15-minute reset (idea 21) — the habit that keeps all of it working.
Do those five this weekend and your cabinets will feel twice the size by Monday. The rest of the list will still be here when you’re ready for round two.