How to Divide a Studio Apartment Without Walls: 11 Renter Tricks
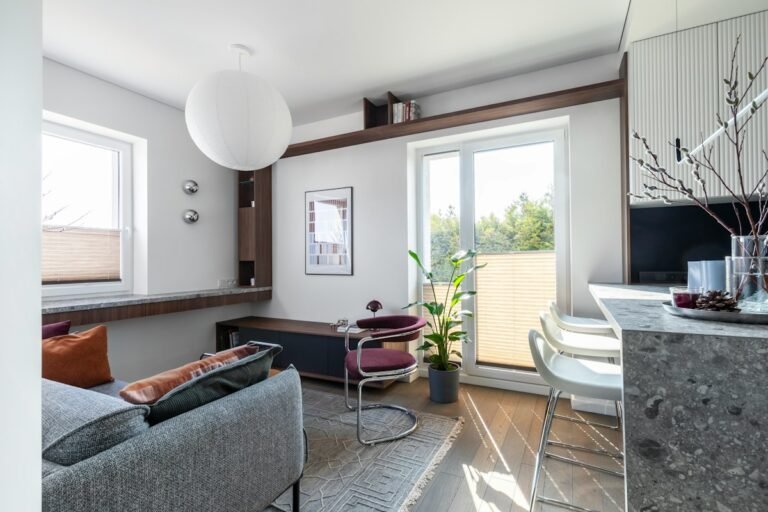
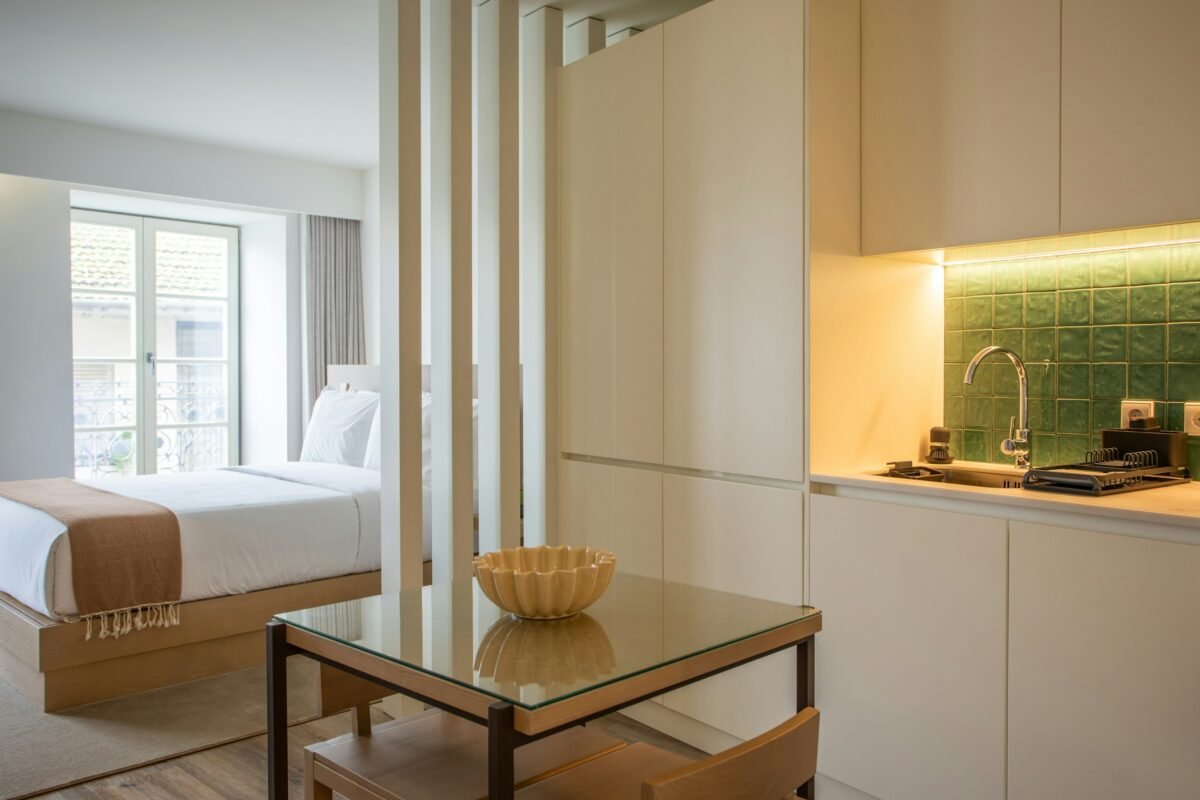
A studio apartment is one room doing four jobs — bedroom, living room, office, and dining room — and without some separation, all four blur into one long, restless rectangle. Learning how to divide a studio apartment without building anything is the core renter skill: you cannot add walls, but you can add boundaries. Boundaries are cheaper, prettier, and they pack up on moving day. These eleven tricks create real zones using furniture you mostly already own, plus a few freestanding pieces that cost less than a month of coffee.
The golden rule before any trick: decide where the bed zone ends and the living zone begins on paper first, and protect a clear walking path between them. Every divider below should sit on that boundary line, not wander off it. And if you want full layout plans to test against your floor plan, these studio apartment layout ideas that separate sleep, work, and living pair with every trick here.
Dividers That Do Double Duty
The strongest studio dividers are not screens — they are furniture that stores, shelves, or seats while it separates. Start with these four.
1. Stand an Open Bookshelf Across the Boundary
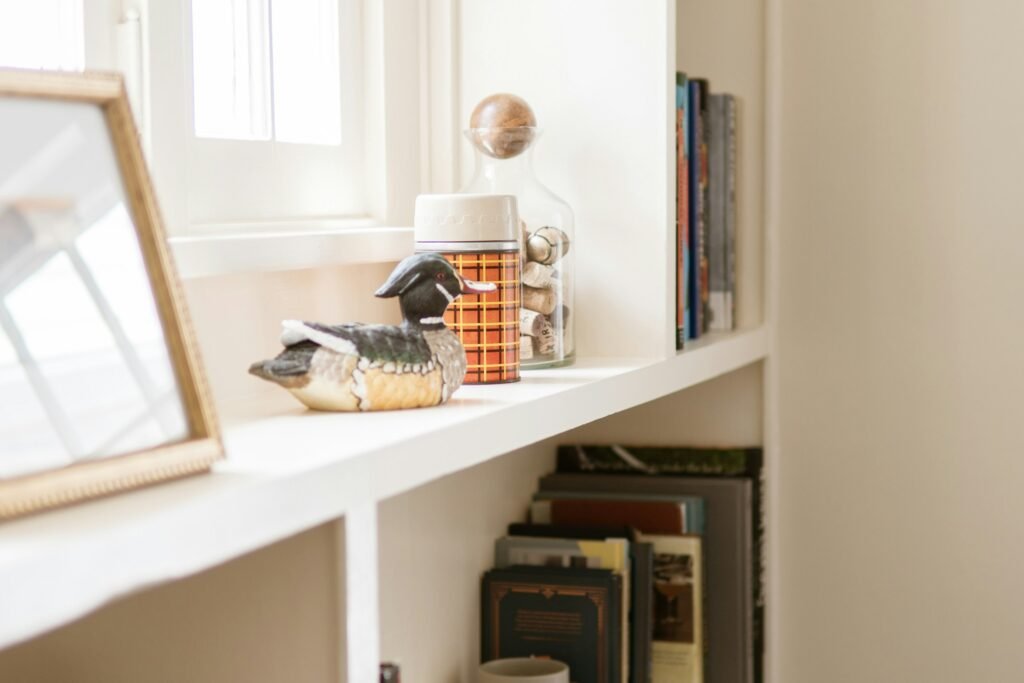
An open-backed cube shelf placed perpendicular to the wall is the classic studio divider because it does three jobs: it draws the line between bed and sofa, it stores from both sides, and it lets light and air pass through the cubes so neither zone feels like a cave. Fill lower cubes with baskets for the bedroom side and books or a plant on the living side, so each face serves its room. Leave the top cubes emptier — visual airiness is what keeps a divider from feeling like a wall of stuff.
Renter-safe and budget note: Cube shelves run $45 to $90 new, far less secondhand, and need no fixing at all. Anchor it for safety only if your lease and walls allow; otherwise keep heavy items low so the center of gravity stays down.
2. Float the Sofa and Let Its Back Be the Wall
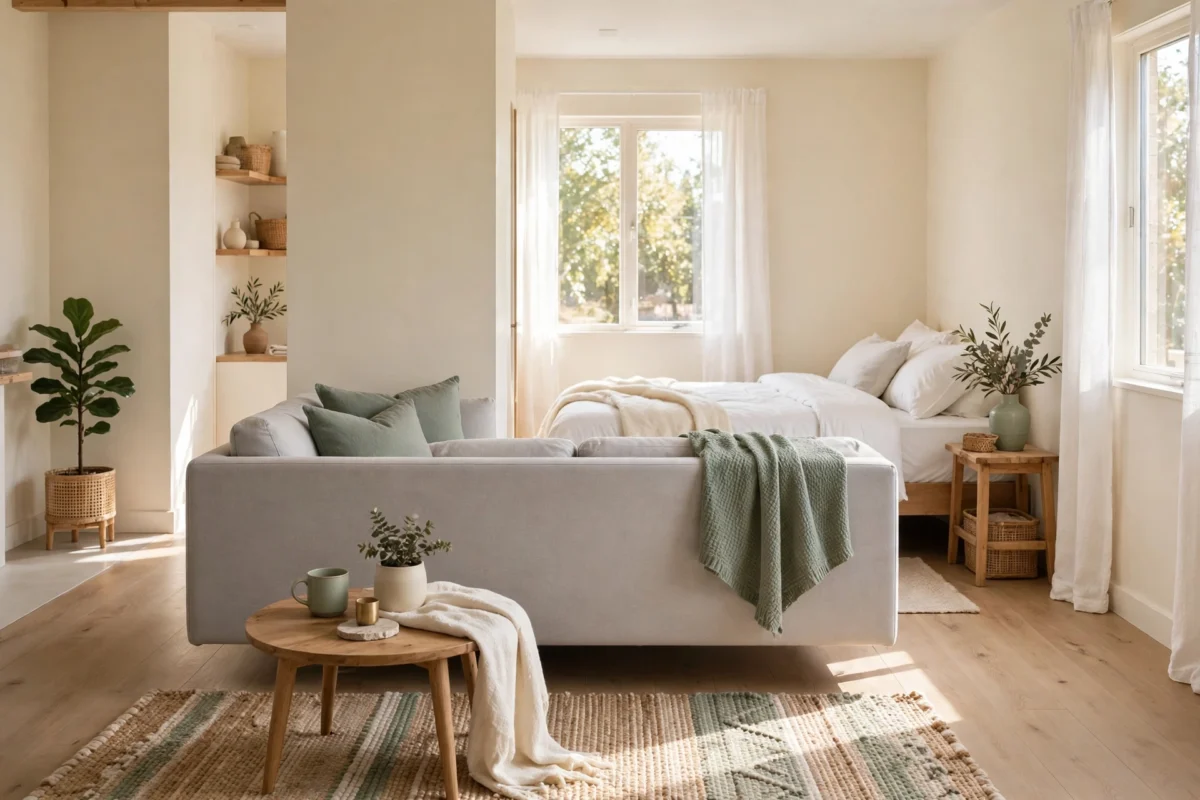
Pushing the sofa against a wall wastes its best feature: its back is a finished, upholstered divider. Float the sofa mid-room facing away from the bed, and the sleep zone instantly hides behind it. Add a slim console table, bench, or even a row of baskets along the sofa’s back and you have a surface for lamps, books, and the landing strip your entry never had. This one rearrangement is usually the moment a studio starts feeling like an apartment.
Renter-safe and budget note: Free if you already own the sofa; console tables run $35 to $70. Check the walkway behind the sofa stays at least about 24 inches so the room does not feel like an obstacle course.
3. Hang a Curtain on a Tension Wire or Freestanding Rail
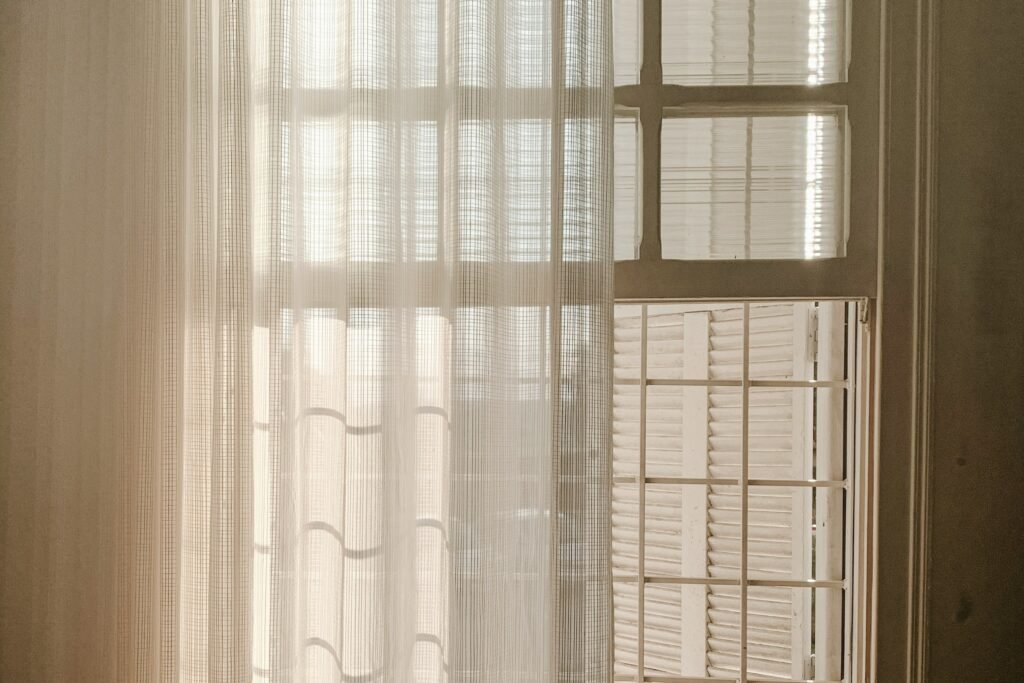
A curtain across the bed zone is the closest a renter gets to a bedroom door: drawn at night it gives true visual privacy and softens echo, opened by day the room is whole again. Tension wire systems mount with small fixings — check your lease first — but a freestanding garment rail or two clamp lamps stands with a lightweight curtain needs zero fixings at all. Choose a fabric with some body (linen-look cotton beats gauze) so it reads as architecture, not laundry.
Renter-safe and budget note: Curtains $15 to $30, wire kits $12 to $20, garment rails $25 to $40. If fixings are banned, the rail version is fully deposit-safe. Keep fabric clear of heaters and the kitchen zone.
4. Fold Out a Screen Only When You Need It
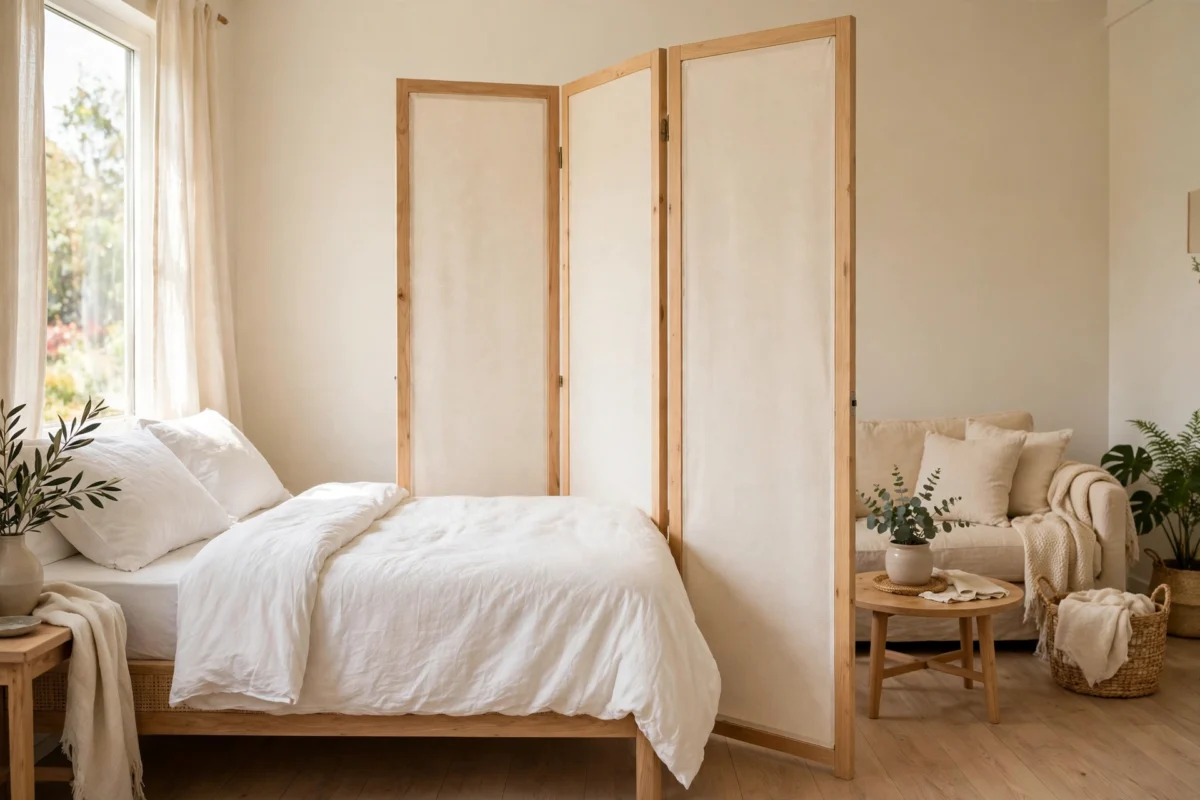
A folding screen is the studio’s spare wall: it deploys for video calls, guests, or a midday nap, and folds to four inches against the wall the rest of the time. It is the only divider that can also hide the exercise bike, the drying rack, and the work desk at 6 p.m. — the three horsemen of studio visual clutter. Lightweight rattan, shoji-style, or fabric panels all keep it movable by one person.
Renter-safe and budget note: Screens run $40 to $85; they are common secondhand for half that. Test the hinge span in the shop if you can — a screen that only opens flat is a poster, not a divider.
Zones You Can Feel Without Any Divider
Sometimes the room is too small for any object on the boundary line. These tricks divide with light, texture, and level changes instead — the zones feel separate even though nothing stands between them.
5. Anchor Each Zone With Its Own Rug
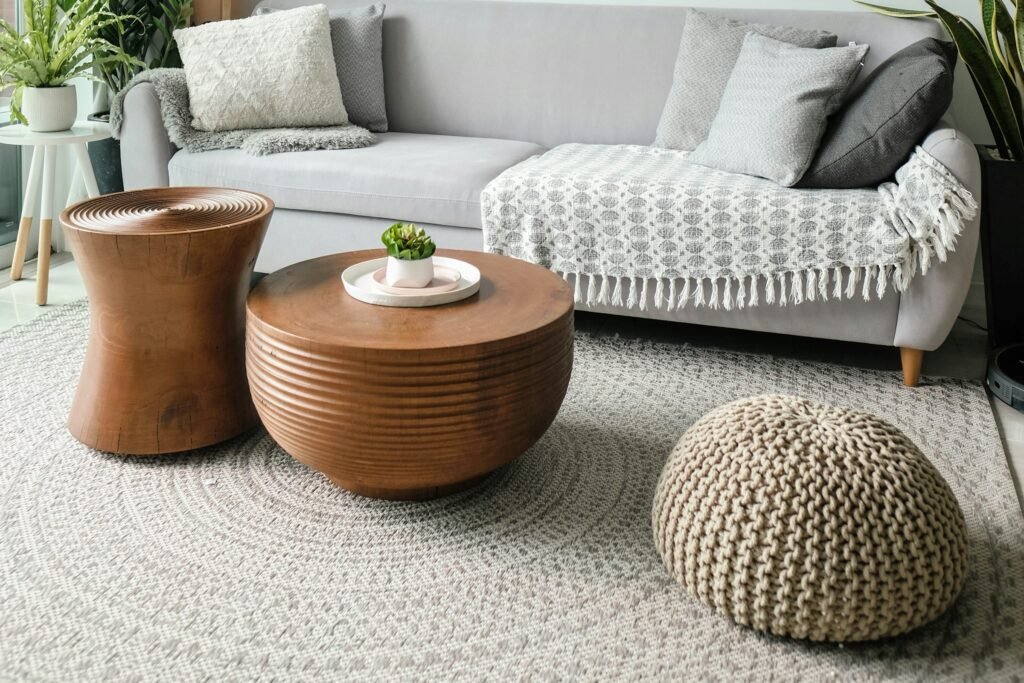
Rugs are floor-level walls. A rug under the sofa grouping and a different one under the bed tells the eye — and your brain — exactly where living ends and sleeping begins, even in a 300-square-foot box. Keep them in the same color family but different textures or patterns so the room stays cohesive, and size them generously: a rug that only fits under the coffee table divides nothing.
Renter-safe and budget note: Flatweave rugs run $30 to $70 each and protect the landlord’s floor as a bonus. Use rug pads underneath — they stop creep on hard floors and add the softness that sells the ‘room’ feeling.
6. Give Every Zone Its Own Light
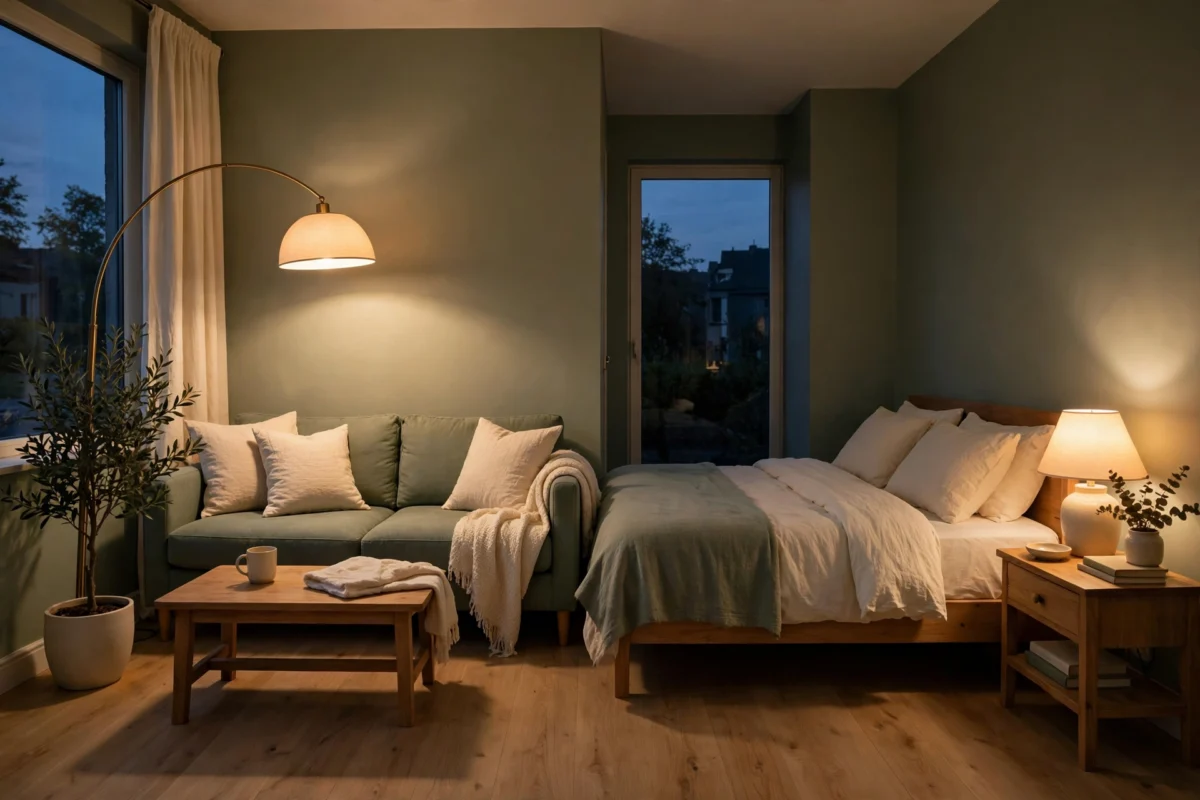
Lighting is the invisible divider professionals use first. One warm lamp cluster for the living zone, a separate softer one for the bed, and a focused task light for the desk means at night you light one ‘room’ at a time — and the others politely recede into shadow. Dimmers or smart bulbs let the same fixture play both roles. Never rely on the single ceiling light: it flattens every boundary you build.
Renter-safe and budget note: Plug-in lamps only — floor lamps $30 to $60, smart bulbs $10 to $15. This trick also fixes video-call backgrounds: a lit zone behind you reads as a room, not a bed.
7. Use a Low Dresser or Credenza as a Half-Wall
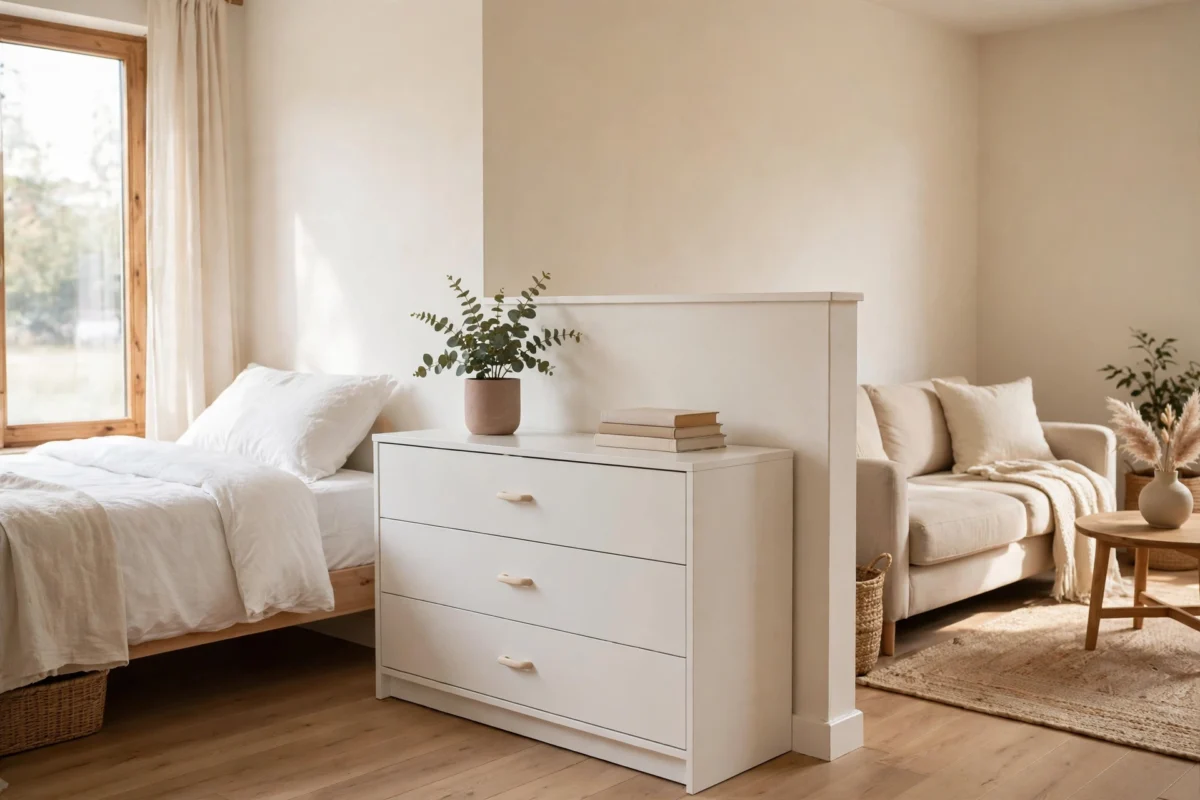
A waist-high dresser placed between zones is a divider you can lean on: it blocks the sightline from sofa to bed pillows (the view that most screams ‘studio’), stores clothes or media, and its top surface becomes a display shelf or a plant ledge that differs by side. Because it is below eye level when standing, the room still feels open — the split registers when you sit down, which is exactly when you live in each zone.
Renter-safe and budget note: Use a dresser you own or a secondhand one for $40 to $80. Finish the back panel if it is raw board — a fabric panel or peel-and-stick paper on the living side makes it look intentional, and both remove cleanly.
8. Turn the Bed Itself: Headboard Against the Room
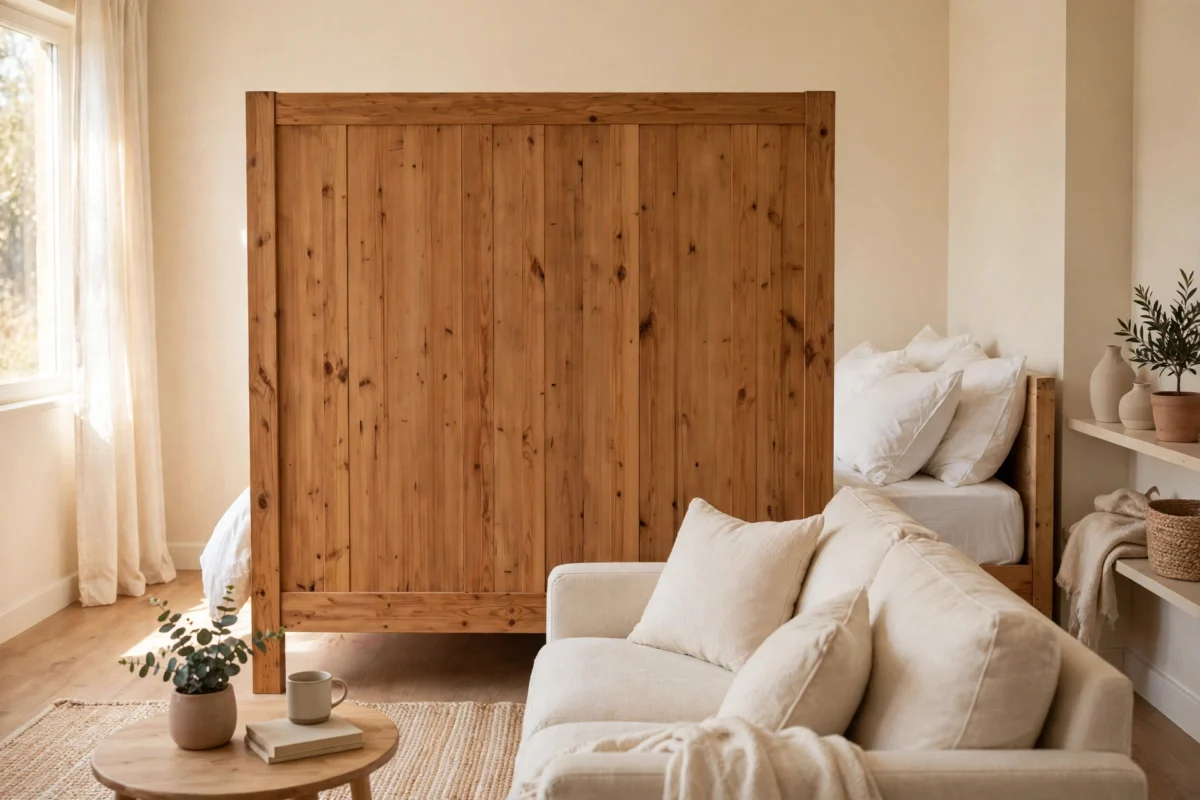
Beds default to a corner, headboard on the wall. Try instead placing the bed with its headboard perpendicular to the wall, jutting into the room like a peninsula, and put a low bookcase or bench at its foot. The bed becomes its own alcove, the foot furniture marks the living zone’s edge, and you gain wall space on both sides of the bed for art and lights. In narrow studios this single rotation often unlocks the whole layout.
Renter-safe and budget note: Free to try for an afternoon — that is the beauty of it. If you add a foot bench, $30 to $60. Keep at least one side of the bed fully walkable for sheet changes or the novelty wears off fast.
Small Tricks That Sharpen the Split
With one main division in place, these finishers make zones unmistakable — and handle the awkward third zone, the desk, that most studios forget to plan.
9. Line the Boundary With Plants
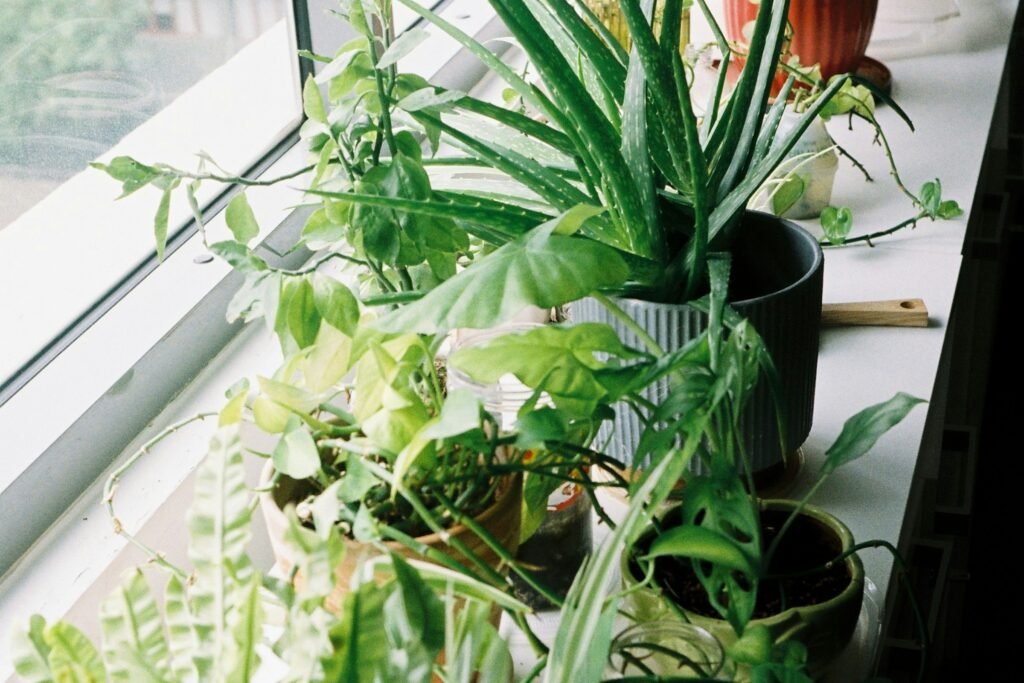
A row of plants along the boundary — on the floor, on the shelf divider, or on stands at mixed heights — softens any split and adds the one thing studios lack: a sense of outdoors between rooms. Tall plants like a snake plant or fiddle-leaf fig read as a green screen; trailing pothos on the shelf divider blur its edges. Plants also give each zone something alive to face, which quietly discourages the ‘everything faces the bed’ layout.
Renter-safe and budget note: Starter plants in simple pots run $8 to $20 each; three to five make a boundary. Use saucers and cork mats under every pot so watering never threatens the floor or your deposit.
10. Park a Rolling Cart or Island Between Kitchen and Living
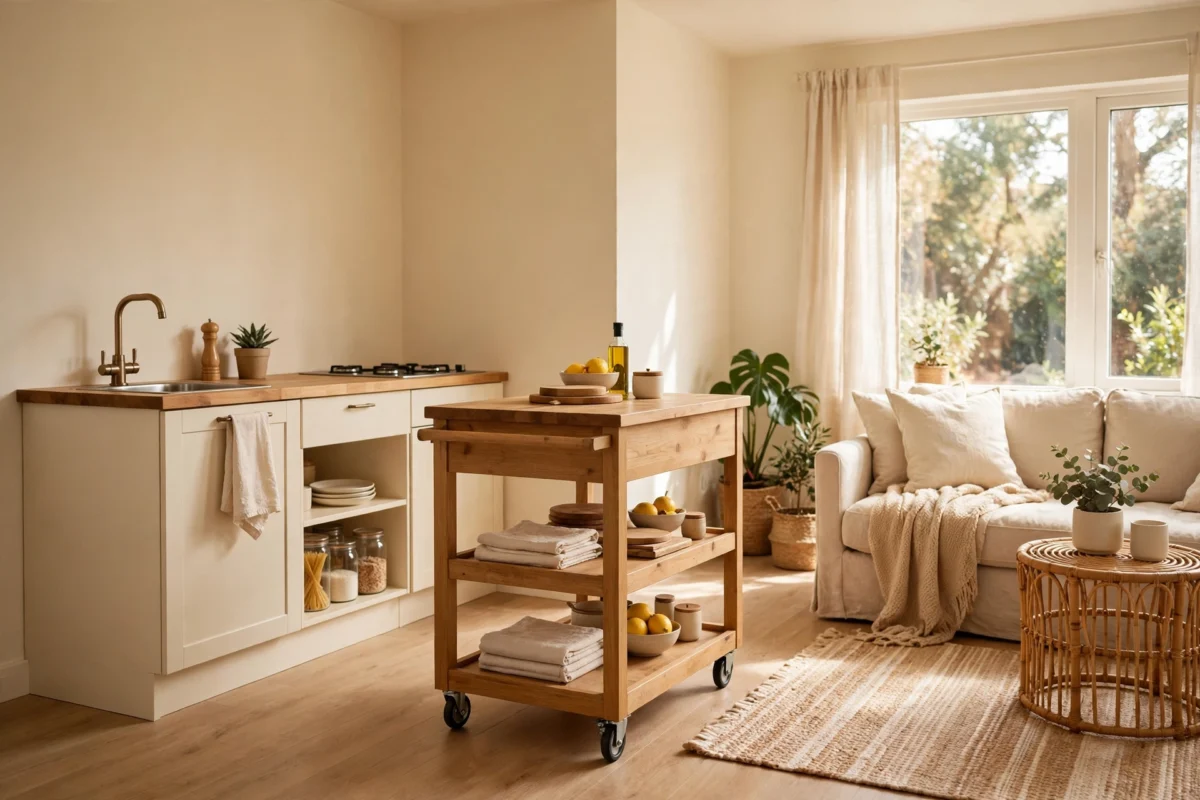
Studios usually blur worst where the kitchenette meets the living area. A rolling kitchen cart or small island on the seam is both the missing counter and the border fence: prep faces one way, sofa life the other, and the cart rolls aside when you need open floor for yoga or guests. Locking casters matter — a divider that migrates is just furniture with wanderlust.
Renter-safe and budget note: Carts run $45 to $90 and double your counter space in the bargain. Choose one with a solid top at counter height so it truly works as prep space, not just a shelf.
11. Color-Block Each Zone With Textiles
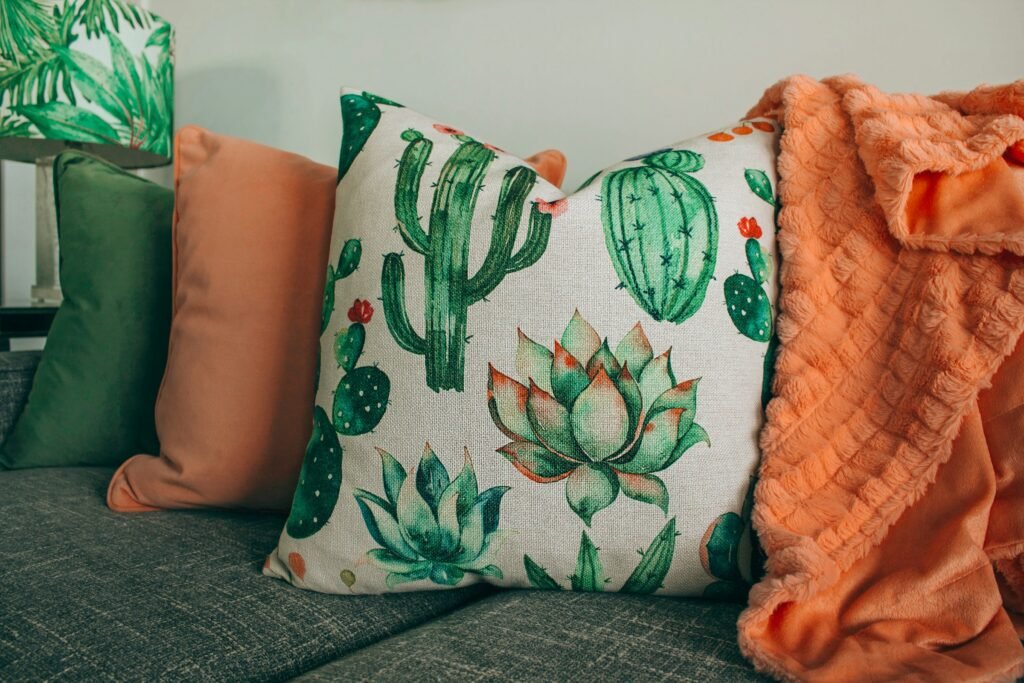
Paint is usually banned, but color is not: assign each zone a textile palette and repeat it three times — living zone in warm rust and cream (cushions, throw, rug), sleep zone in cool blue and white (bedding, curtain, cushion). The repetition makes the zones read as designed rooms even from the doorway. Swap the textiles seasonally and the studio feels redecorated without a single new piece of furniture.
Renter-safe and budget note: Cushion covers and throws run $8 to $20 each, and you likely own half of them already — the trick is the grouping, not the shopping. Keep one shared neutral across zones so the room does not split into warring halves.
Studio Dividing Mistakes to Avoid
First, do not build a full-height, solid wall of furniture — it kills light, blocks air, and makes both sides feel smaller; dividers should top out below the ceiling and let light over or through. Second, avoid placing a divider where it fights the walking path or a door swing — a beautiful boundary you bruise your hip on daily gets removed by Friday. Third, do not divide before you declutter: half the need for separation disappears when the room holds only what it should. Fourth, never fix rails, tracks, or shelves to walls or ceilings without checking your lease — every trick above has a freestanding version. Finally, resist matching everything: zones need contrast (light, color, texture) to read as zones at all.
Studio Dividing FAQs
What is the cheapest way to divide a studio?
Rearranging what you own: float the sofa with its back to the bed (free), anchor zones with rugs you already have, and give each zone its own lamp. If you buy one thing, make it a curtain on a freestanding rail or a secondhand folding screen — both under about $40 used, both fully portable, and both give real privacy rather than a hint of it.
How do I divide a studio I share with a partner?
Prioritize the sleep zone’s privacy and the work zone’s acoustics: a curtain plus bookshelf combo around the bed, a screen for video calls, and lighting that lets one person read while the other sleeps. Agree that the living zone is the shared, always-tidy middle. Two smaller, well-placed dividers beat one big one — you each get a retreat without walling off the whole room.
Will dividers make my small studio feel even smaller?
Not if they follow the light rules: keep dividers below ceiling height, prefer open or translucent pieces (cube shelves, screens, plants) over solid ones, and keep one clear sightline from the door to the window. Paradoxically, defined zones usually make a studio feel bigger, because the eye reads several purposeful areas instead of one undifferentiated box.
Start With These 5
Short on time or money? Start here: 1) float the sofa so its back divides the room, 2) anchor each zone with its own rug, 3) stand an open bookshelf on the boundary, 4) give every zone its own warm light, and 5) color-block with textiles so the zones read at a glance. Draw the boundary line first, keep every fix freestanding, and your one room will start behaving like three.