

25 Studio Apartment Layout Ideas That Separate Sleep, Work & Living
Living in a studio apartment means your bedroom, office, and living room all share one room — and without a plan, it can feel like you are sleeping in your office and working in your bedroom. These studio apartment layout ideas separate areas into distinct zones for sleep, work, and living, so even a 400-square-foot studio feels like a real home with real rooms.
This guide rounds up 25 renter-safe layout ideas that carve a studio into three clear zones. Every idea works in a rental, most cost under $100, and none require knocking down walls. The best part? You can start with just one or two changes and feel the difference the same day.
Layout Foundations: Map Your Zones First
The biggest studio layout wins come before you spend a dollar. These five foundation ideas set up every other idea on this list.
1. Sketch Three Zones Before You Move a Thing

Before you buy anything, grab graph paper and sketch your studio to scale. Mark three zones: sleep in the quietest corner, work near a window or outlet, and living near the kitchen or entry. This 20-minute exercise prevents the most common studio mistake — buying furniture that fits the room but blocks the flow between zones.
Renter-safe and budget note: Free. Use painter’s tape on the floor to mark your zone boundaries before you commit, then walk through the taped layout for a day to test it. The mistake to avoid is skipping this step and arranging by guesswork.
2. Anchor Each Zone With Its Own Rug
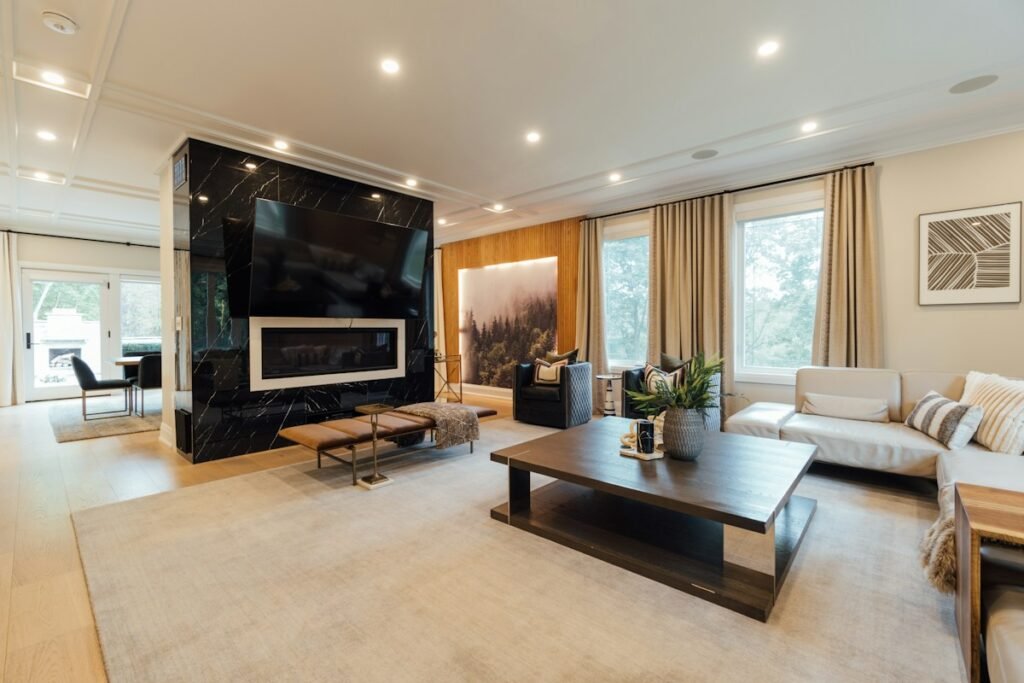
A rug visually tells your brain “this is a different room.” Place one rug under the bed area, another under the living area, and a small mat or runner in the work zone. The rugs do not need to match — in fact, different textures and colors strengthen the separation between your studio apartment zones.
Renter-safe and budget note: Rugs are fully portable and start around $30 for a 5×7. Choose low-pile rugs that are easy to clean. The mistake to avoid is buying rugs that are too small — a rug should anchor at least the front legs of your main furniture.
3. Float the Sofa to Split Living From Sleeping
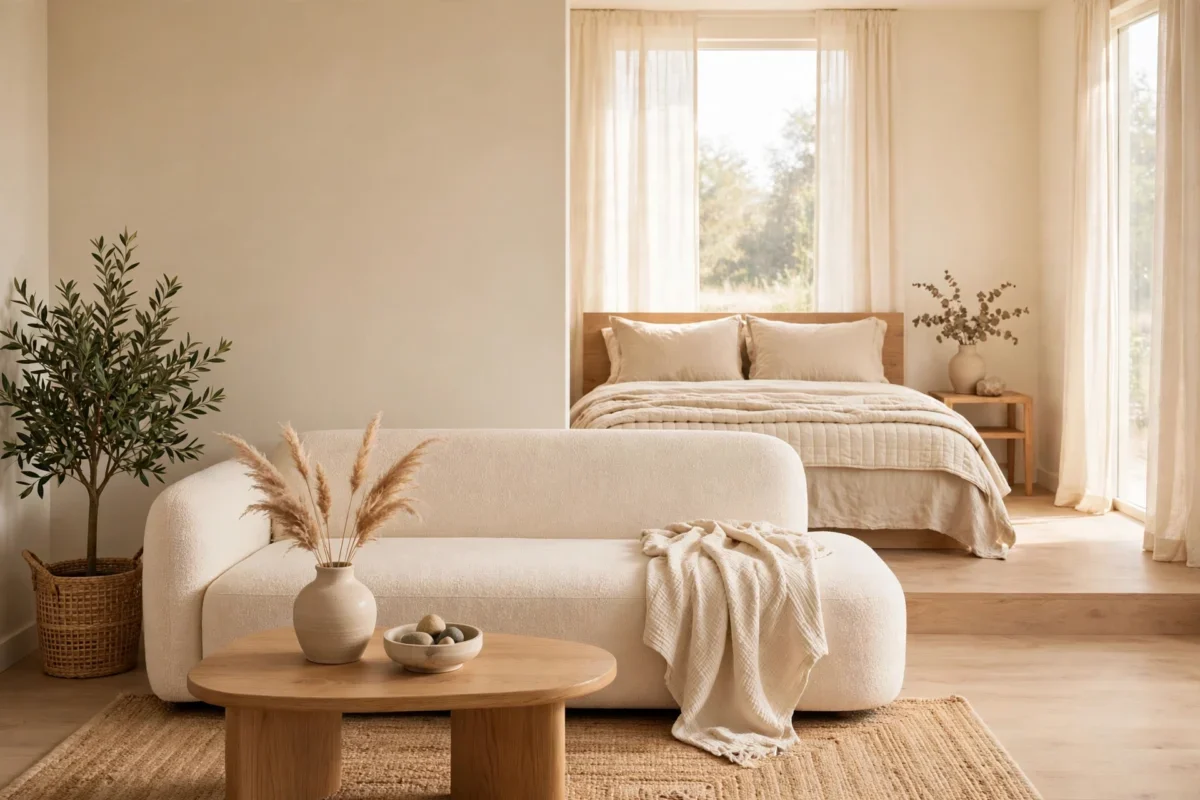
Instead of pushing your sofa against the wall, float it in the middle of the room with its back facing the bed. The sofa back becomes a visual wall that separates the living zone from the sleep zone. This single move creates the feeling of two rooms without buying any divider.
Renter-safe and budget note: Free — you are just rearranging. Leave at least 30 inches of walkway behind the sofa so the path does not feel cramped. This pairs perfectly with a console table behind the sofa (idea 9).
4. Put the Bed in the Quietest Corner
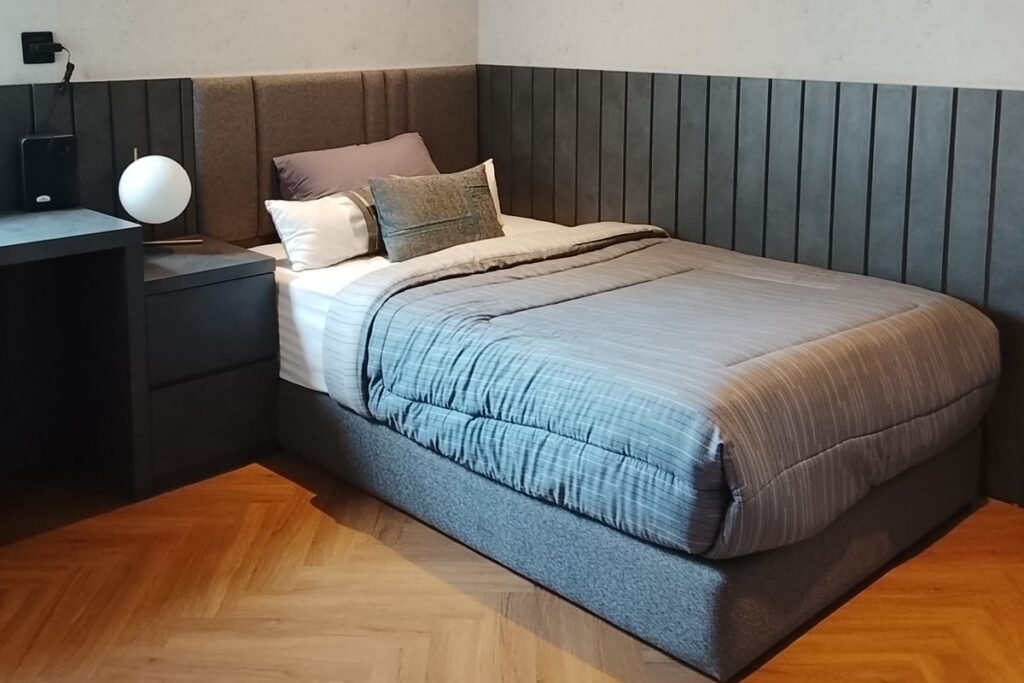
Your sleep zone belongs in the corner farthest from the front door and the kitchen. This keeps hallway noise and cooking smells away from your pillow. In most studios, that means the corner diagonally opposite the entry — the spot that feels most private and enclosed.
Renter-safe and budget note: Free. If the quietest corner has the worst light, add a small lamp rather than moving the bed somewhere noisier. Sleep quality matters more than a view, and you can fix lighting for under $20.
5. Keep a Clear Walkway Through All Three Zones

Every studio needs one clear path — at least 30 inches wide — connecting the front door to the window and passing through all three zones. When furniture blocks this artery, the whole apartment feels cramped and chaotic. Map this walkway first, then arrange furniture around it, not through it.
Renter-safe and budget note: Free. The common mistake is letting the walkway become a storage lane for shoes, laundry baskets, and boxes. Keep it clear, even if it means choosing a smaller coffee table.
Dividers That Separate Without Walls
You do not need construction to get separation. These five dividers create real boundaries that renters can install — and remove — without a trace.
6. Use an Open Bookcase as a Room Divider

A tall, open-backed bookcase placed perpendicular to the wall creates genuine separation while letting light through. Face the shelves toward the living area for books and decor; the back becomes a clean wall for the sleep zone. It is storage and a room divider in one piece of furniture.
Renter-safe and budget note: Around $60 to $120 for a sturdy bookcase. Anchor it with removable adhesive strips if it is tall — a freestanding bookcase can tip. Do not overload the top shelves, and keep the back neat since you will see it from the bed.
7. Hang Curtains Around the Bed Nook

Ceiling-mounted curtain tracks (the adhesive kind) let you pull a curtain closed around your bed at night. Open during the day, the studio feels spacious; closed at night, you have a private bedroom. It is the closest thing to a real wall that a renter can get.
Renter-safe and budget note: Adhesive ceiling tracks cost around $20 to $30 and remove without damage. Choose light-filtering fabric if you want morning light, blackout if you need darkness (see idea 14). The mistake to avoid is hanging curtains that pool on the floor — they collect dust and look messy.
8. Add a Folding Screen You Can Move Anytime
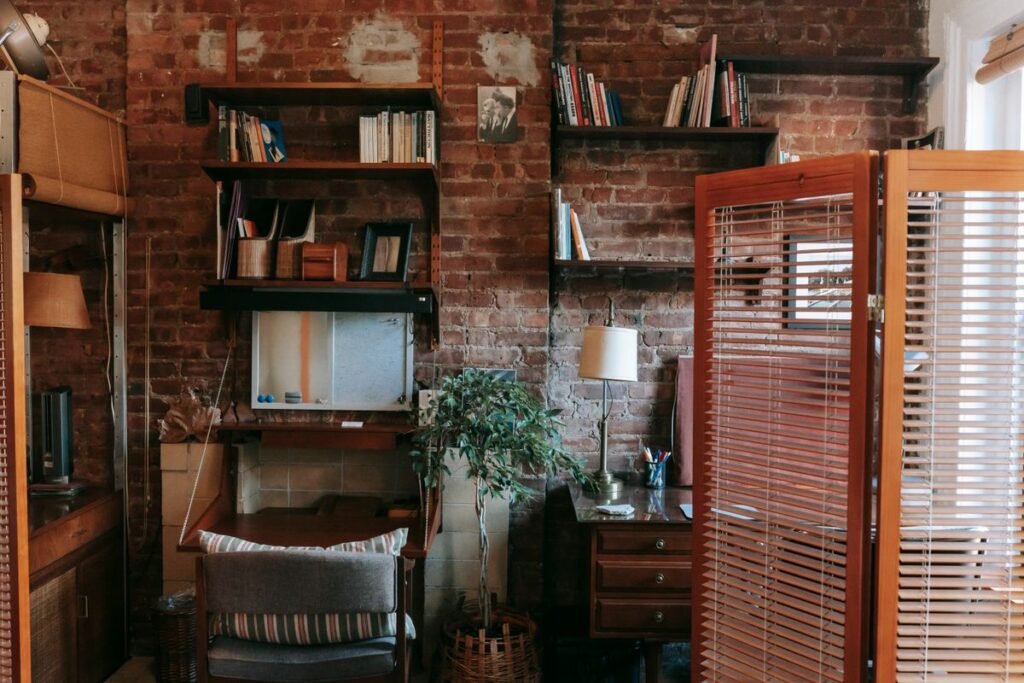
A three-panel folding screen gives you instant privacy that you can reposition in seconds. Use it to hide the bed when guests come over, or to block the work desk from view when you are relaxing. Unlike curtains, it needs zero installation.
Renter-safe and budget note: Around $40 to $80. Choose a screen at least 5 feet tall to actually block sightlines. When not in use, fold it flat behind a door or beside the fridge.
9. Place a Console Table Behind the Sofa
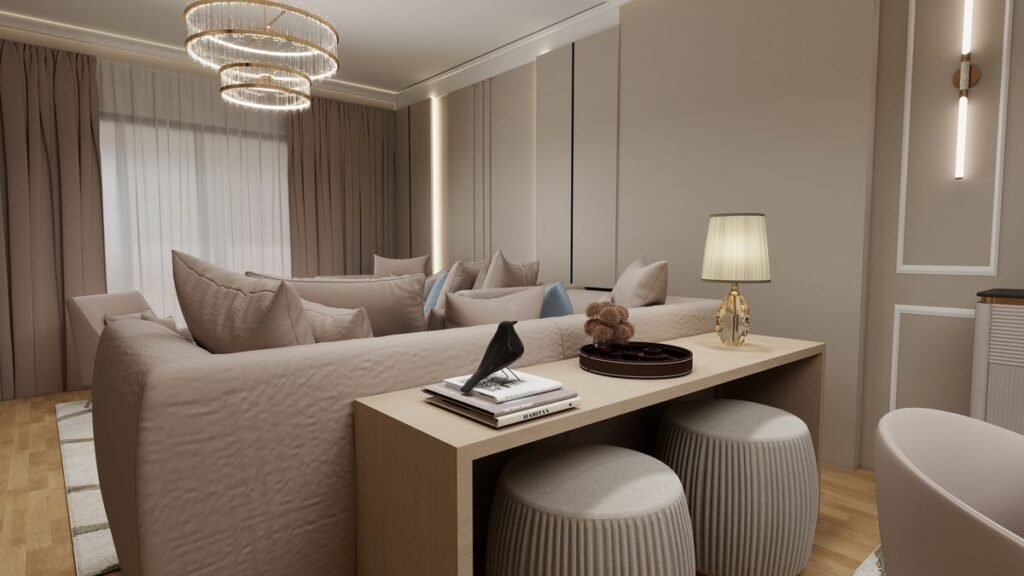
A narrow console table (10 to 12 inches deep) tucked behind a floating sofa creates a hard boundary between the living zone and whatever sits behind it. Style the top with a lamp and a basket — it looks intentional, not like a barrier. The table also adds a home for keys, mail, and chargers.
Renter-safe and budget note: Around $50 to $90. Match the table height to the sofa back or keep it slightly lower. This works best when the sofa is floated away from the wall (idea 3).
10. Use a Low Dresser as a Half-Wall
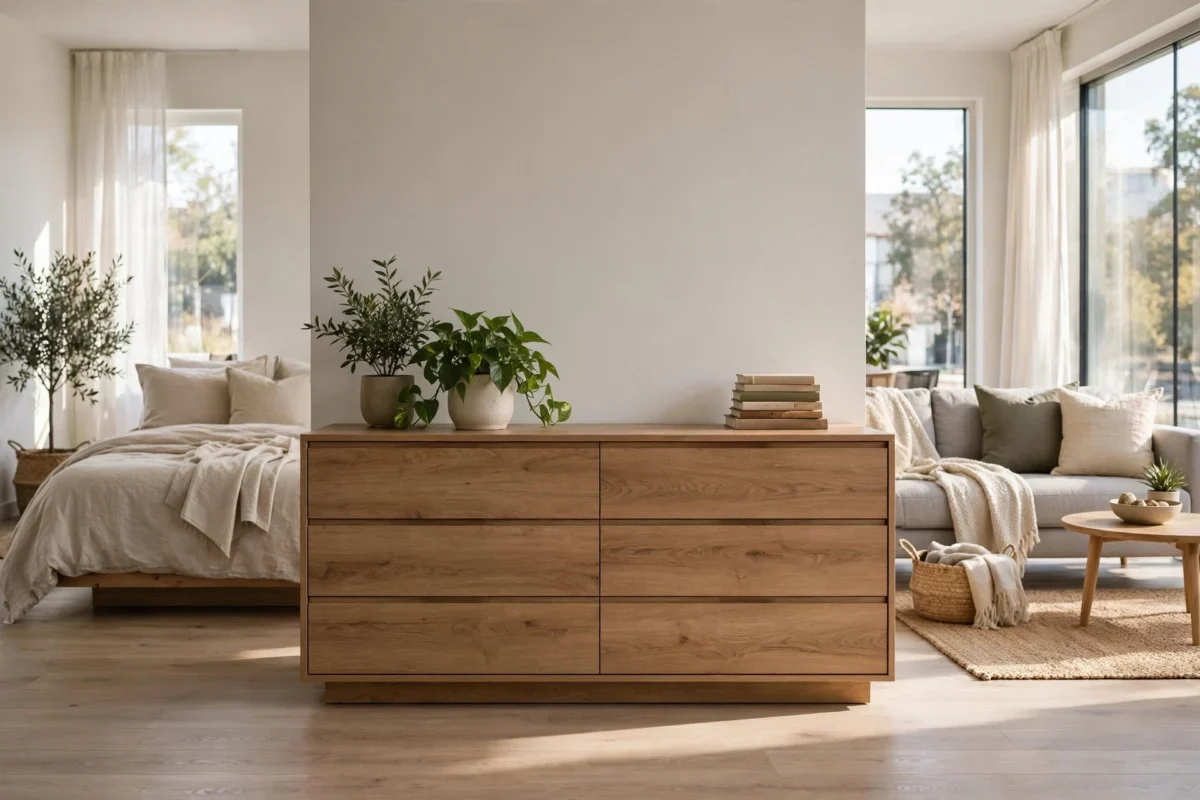
A low, wide dresser (30 to 34 inches tall) placed between zones acts as a half-wall — it defines the boundary without blocking light or making the space feel closed in. The top becomes a display surface, and the drawers add clothing storage that studios desperately need.
Renter-safe and budget note: Around $80 to $150. It is one of the priciest ideas here, but it replaces both a divider and a dresser. Check that it does not block outlets you need before you commit to the spot.
Sleep Zone Ideas for Studio Apartments
Your sleep zone has one job: helping you fall asleep and stay asleep while the rest of your life happens ten feet away. These ideas make it feel like a real bedroom.
11. Choose a Daybed or Sofa Bed for Double Duty

In a true studio, the bed is the elephant in the room. A daybed looks like a sofa during the day and sleeps like a bed at night. Add throw pillows and a throw blanket, and guests will never know it is your bed. This single choice can make a studio feel twice as large.
Renter-safe and budget note: Around $200 to $400, but it eliminates the need for both a bed and a sofa. Use a proper mattress, not a thin futon pad — your back will thank you every morning.
12. Loft the Bed to Free Floor Space

If your ceiling is at least 8 feet high, a loft bed lifts your sleep zone off the floor entirely. The space underneath becomes a work zone, a reading nook, or extra storage. You are essentially adding a second floor to your studio without any construction.
Renter-safe and budget note: Loft frames start around $150. Check your lease — some buildings restrict them. Make sure you have at least 33 inches between the mattress top and the ceiling so you can sit up comfortably.
13. Face the Bed Away From the Living Area
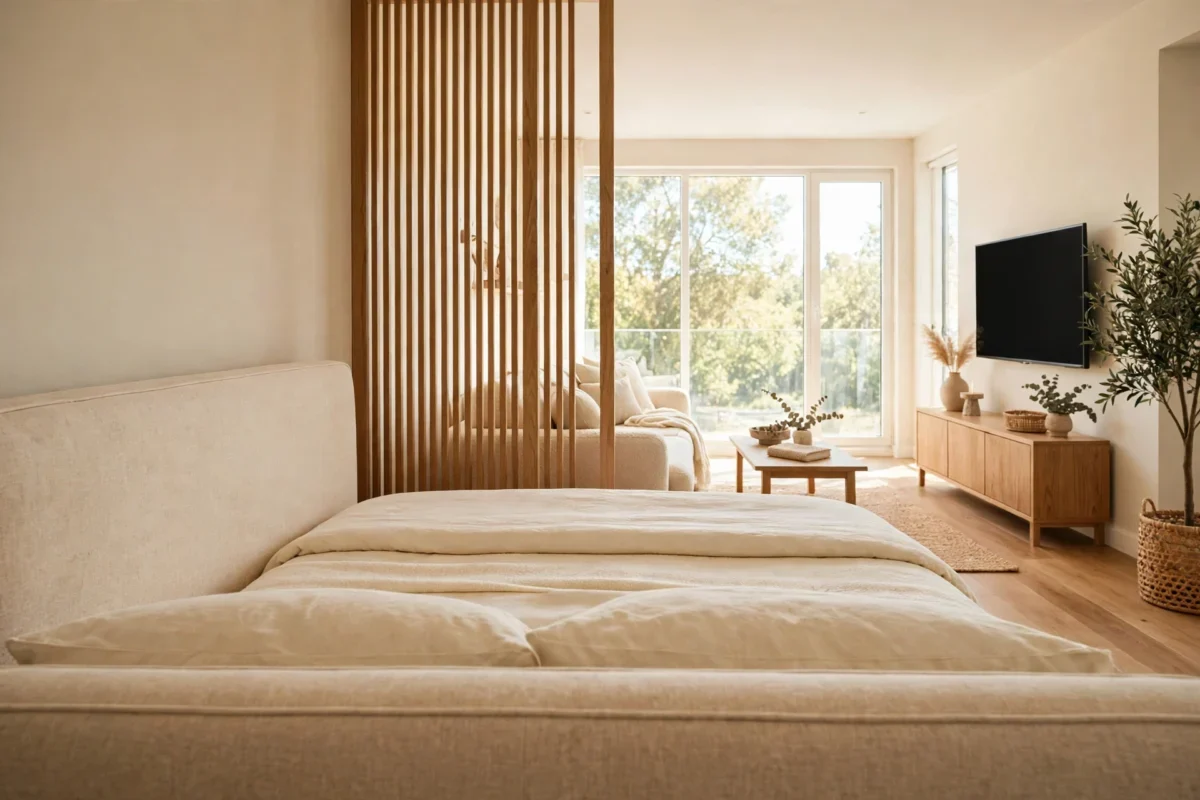
Position the bed so the headboard is against the wall and you face away from the living zone when lying down. This simple orientation trick means you do not stare at your desk or sofa while trying to fall asleep. Your brain registers the sleep zone as separate because you cannot see “work” from your pillow.
Renter-safe and budget note: Free. Pair this with a headboard — even a fabric one hung with adhesive strips — to strengthen the sense of a dedicated sleep space.
14. Add Blackout Curtains Around the Sleep Zone

If you used curtains to define the bed nook (idea 7), make them blackout curtains. Blocking light around the sleep zone does two things: it improves your sleep, and it creates a dramatic visual cue that this area is for rest. When the blackout curtains are drawn, the rest of the studio disappears.
Renter-safe and budget note: Blackout curtains start around $25 per panel, and you only need them on the sleep zone — not the whole apartment. Look for panels with a white backing if your building has rules about window appearance.
15. Keep Nightstand Storage Vertical

In a studio, the nightstand has to work harder. Choose a tall, narrow nightstand — or a small bookshelf — instead of a wide one, and add a wall-mounted shelf above it for your book, glasses, and charger. Going vertical keeps the sleep zone footprint tiny while putting everything within arm’s reach.
Renter-safe and budget note: A narrow nightstand costs around $30 to $50. Use adhesive cable clips to route your charger cable neatly. The mistake to avoid is letting the nightstand become a second desk — keep work items out of the sleep zone.
16. Use Warm, Dim Lighting Only in the Sleep Zone
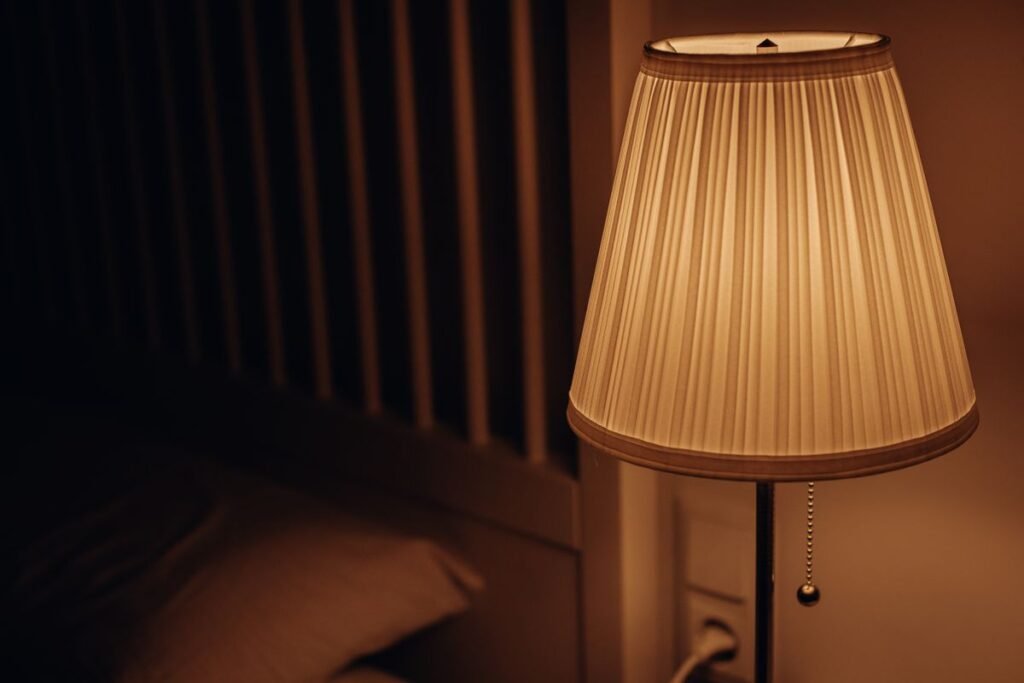
Lighting tells your brain what a space is for. Put a warm (2700K), dimmable lamp in the sleep zone, separate from the bright task lighting in the work zone. When you switch on only the warm lamp at night, your body gets the signal to wind down — even though your desk is ten feet away.
Renter-safe and budget note: A warm LED bulb costs under $10; a plug-in dimmer is about $15 if your lamp is not dimmable. Avoid cool-white bulbs in the sleep zone — they signal “office” to your brain.
Work Zone Ideas for Studio Apartments
Working from home in a studio is hard when your office is also your bedroom. These six ideas give work its own place — and a way to make it vanish at 5 PM.
17. Claim a Wall-Mounted Drop-Leaf Desk
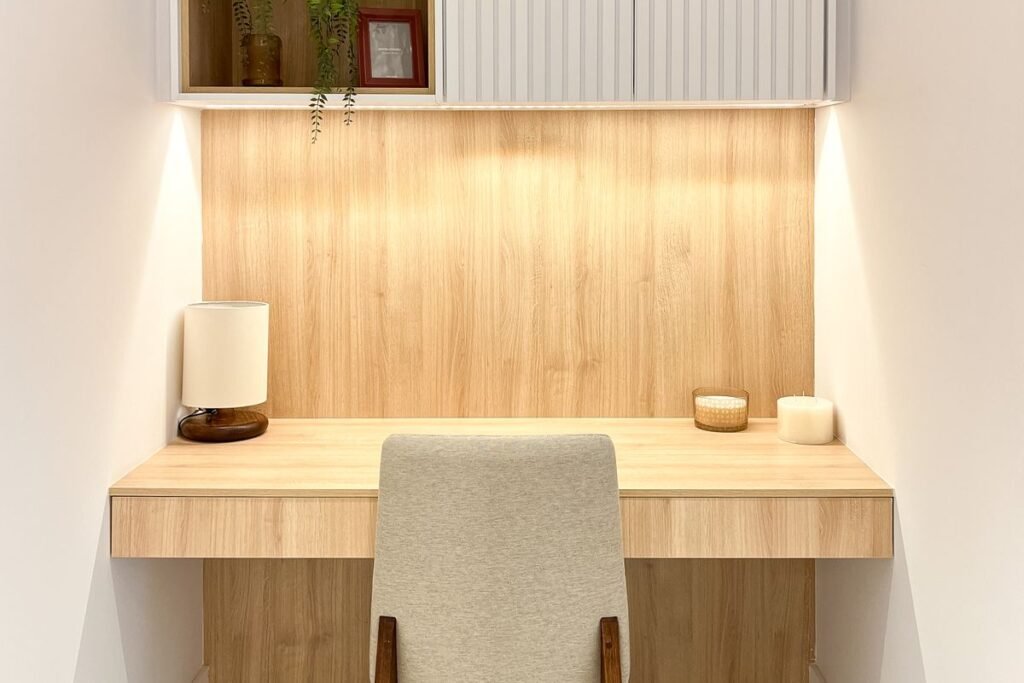
A drop-leaf desk mounts to the wall and folds down when you need it, then folds flat when you do not. Open, it is a full workspace; closed, it is a 4-inch-deep shelf. This is the ultimate studio work solution because your “office” literally disappears at the end of the day.
Renter-safe and budget note: Around $60 to $100. Look for models that mount with heavy-duty adhesive or minimal screws (fill small holes with spackle at move-out). Confirm it sits at proper desk height — 28 to 30 inches.
18. Turn a Closet Into a Cloffice

If your studio has a reach-in closet, remove the doors (store them safely) and put a desk inside. Add a curtain to close it off after work hours. You have just created a home office with a door — the curtain — that takes zero floor space from your living area.
Renter-safe and budget note: A simple desktop board across the closet costs under $30. Keep the closet rod above for hanging work supplies. This works best in closets at least 24 inches deep.
19. Set the Desk by the Window, Back to the Bed

Place your desk facing the window with your back to the bed. Natural light reduces eye strain, and facing away from the bed means you do not see “sleep” while working. This orientation also puts the brightest light where you need it most during work hours.
Renter-safe and budget note: Free — it is just positioning. If the window wall is taken, use a daylight-mimicking desk lamp (around $25). Keep the desk surface facing away from the bed to maintain the mental separation.
20. Use a Rolling Cart as a Mobile Office

A three-tier rolling cart holds your laptop, notebooks, chargers, and supplies. Roll it to the desk when you work, then roll it into a closet or corner when you are done. Your office supplies never colonize the living area because they live on the cart.
Renter-safe and budget note: Around $30 to $40. Label the tiers so everything has a home. The mistake to avoid is letting the cart become a junk collector — if it does not fit on the cart, it does not belong in the office.
21. Hide Work Gear in a Storage Ottoman at Day’s End

When work is over, put your laptop, notebooks, and chargers inside a storage ottoman and close the lid. Your office is gone. This two-minute ritual creates a psychological boundary between work and rest that is essential when both happen in the same room.
Renter-safe and budget note: Around $40 to $60, and it doubles as extra seating for guests. This pairs perfectly with the rolling cart (idea 20) — the cart for active work, the ottoman for after hours.
22. Add Task Lighting That Signals Work Mode
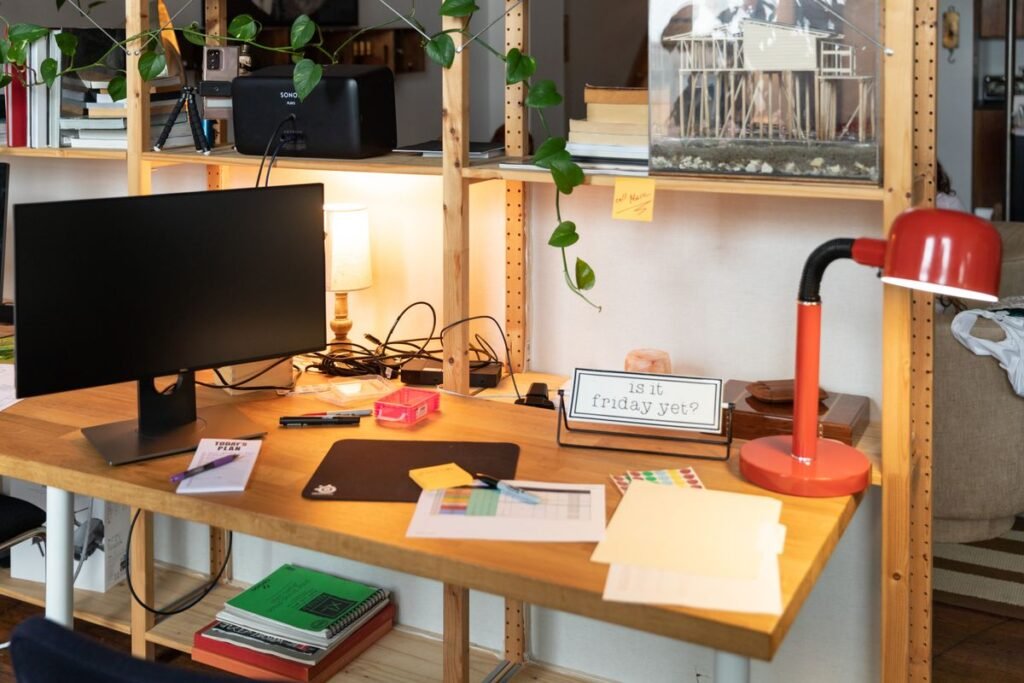
A dedicated desk lamp that you only turn on when working becomes a ritual cue. Lamp on: you are in work mode. Lamp off: work is over. This is especially powerful in a studio where you cannot leave the office — the light creates the boundary that walls normally would.
Renter-safe and budget note: A good LED desk lamp costs $25 to $40. Choose one with adjustable color temperature — cool white for focus, warm for an evening wind-down.
Living Zone & Finishing Touches
With sleep and work handled, the living zone is where your studio finally feels like home. These last three ideas pull everything together.
23. Choose a Small-Scale Sofa, Not a Sectional

A full sectional will eat your studio alive. Choose an apartment-sized sofa (68 to 72 inches wide) or a loveseat. It seats two comfortably, leaves room for walkways, and does not visually dominate the space. Your living zone should feel cozy, not cramped.
Renter-safe and budget note: Apartment sofas start around $300. Measure your space and tape the footprint on the floor before buying. The mistake to avoid is buying for your dream apartment — buy for the studio you have.
24. Layer Lighting to Tell Zones Apart

Give each zone its own light source at a different height: a floor lamp in the living zone, a desk lamp in the work zone, a table lamp in the sleep zone. When you turn on only the living-zone lamp in the evening, the other zones fade into the background. Lighting does what walls do in a bigger home.
Renter-safe and budget note: Three lamps can cost under $75 total if you shop sales. Use smart plugs (about $15 for a 4-pack) to control them from your phone. Keep the color temperature consistent within each zone.
25. End the Day With a Five-Minute Zone Reset

Every evening, spend five minutes resetting each zone: fold the throw on the sofa, close the laptop and roll the cart away, pull the sleep curtain. This tiny ritual maintains the boundaries you worked so hard to create. Without it, zones blur together within a week.
Renter-safe and budget note: Free. Set a phone alarm for the same time each night until it becomes habit. This is the highest-ROI idea on the list — it costs nothing and preserves every other idea.
Studio Apartment Layout Mistakes to Avoid
Even the best studio apartment layout ideas fail if you make these mistakes. First, do not push all furniture against the walls — this leaves a dead empty middle and makes the studio feel like a waiting room. Float at least one piece (the sofa or a bookcase) to create zones.
Second, stop using the bed as a sofa. Sitting on your bed to watch TV trains your brain to associate the bed with being awake. If your studio is too small for both, get a daybed (idea 11) that is designed for double duty.
Third, do not rely on one overhead light for the whole studio. A single ceiling light flattens all three zones into one bright box. Layer lamps (idea 24) to give each zone its own mood.
Fourth, do not skip the entryway drop zone. Without a spot for keys, shoes, and bags near the door, clutter spreads into every zone. A small mat and wall hooks by the door solve this for under $20.
Fifth, never buy storage furniture before planning your zones. Storage pieces are bulky, and a bookcase bought for the wrong wall becomes an obstacle. Plan your three zones first (idea 1), then buy storage that fits the zone — not the other way around.
Studio Apartment Layout FAQs
How do I separate my bedroom from my living room in a studio?
Use a combination of visual and physical dividers. Start with a rug to define each area, then add one physical divider — a bookcase, curtain, or folding screen — between the bed and the sofa. Face the bed away from the living area and use different lighting in each zone. You do not need a wall; you need clear signals that tell your brain “this is for sleeping” and “this is for living.” For more ideas on organizing a small sleeping area with no closet, see our guide to small bedroom storage ideas no closet.
Where should I put my desk in a studio apartment?
Put your desk near the window for natural light, with your back to the bed. If space is tight, use a wall-mounted drop-leaf desk that folds away, or convert a closet into a cloffice. The key rule: keep the desk out of sight from your pillow. If you can see your work from bed, you will think about work when you are trying to sleep.
How can I make my studio apartment feel bigger?
Use the classic visual tricks: light colors, a mirror opposite the window, furniture with legs so you see floor underneath, and vertical storage that draws the eye up. But the biggest impact comes from zoning itself — a studio with three clear zones feels larger than the same space as one undefined room, because your brain perceives it as multiple spaces.
Start With These 5
Short on time? These five ideas deliver the biggest studio transformation for the least money and effort: (1) Sketch Three Zones Before You Move a Thing — a free 20-minute plan that prevents every expensive mistake. (2) Anchor Each Zone With Its Own Rug — instant visual rooms for around $30 each. (3) Float the Sofa to Split Living From Sleeping — free, and it creates two rooms out of one. (4) Use an Open Bookcase as a Room Divider — storage and a wall in one piece. (5) End the Day With a Five-Minute Zone Reset — free, and it keeps every other idea working. Start with these five, then add the rest only where you still see gaps.